
ARG | Pacific National | South
Spur Rail | Specialised Container Transport | TransWA
& TransPerth | Westrail
Hotham Valley Railway | Other
Operators | Mandurah Railway Construction
| Queensland Rail | New Zealand
| CBH
TransPerth and TransWA
Photos of TransPerth and TransWA locomotives and
trainsets. Where available, click on the 'Listen to Horn' link to hear a recording
of that locomotive's horn. Newest photos are added at the bottom of the page.
|
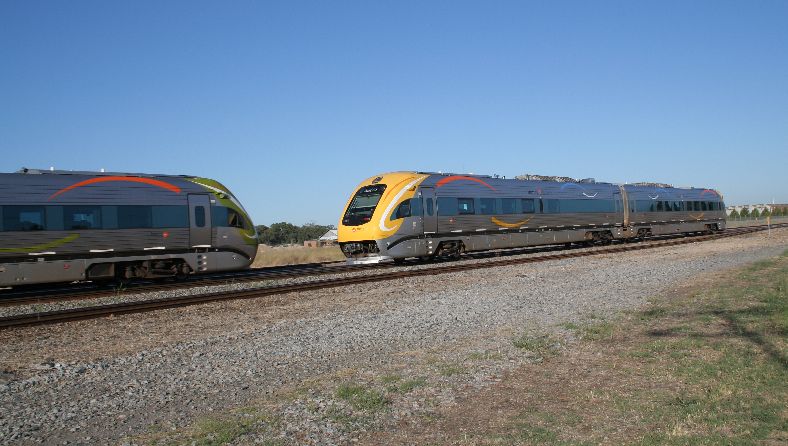
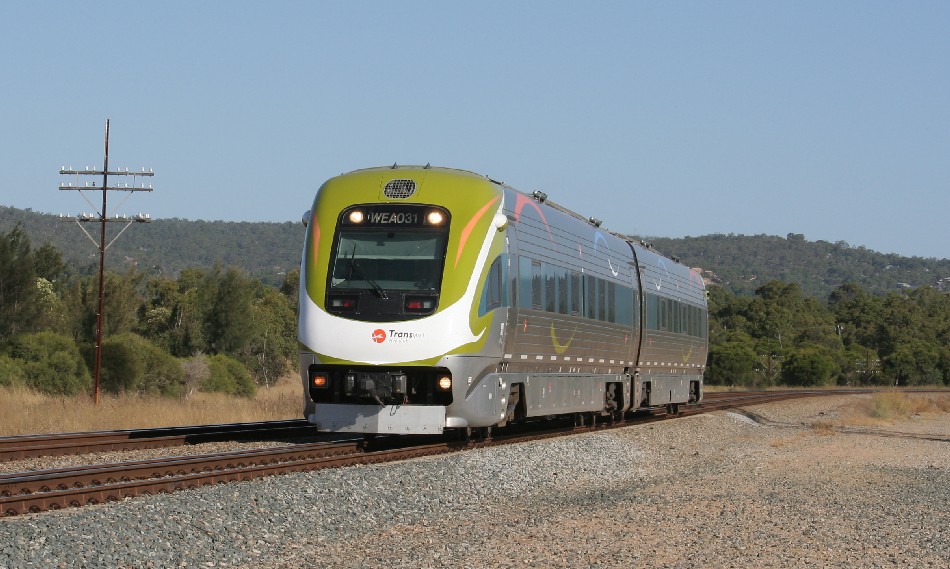
TransWA Prospector passing |
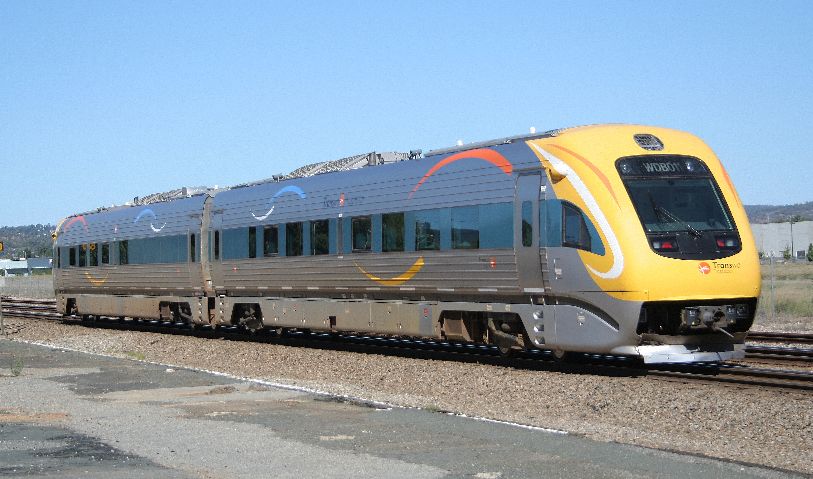
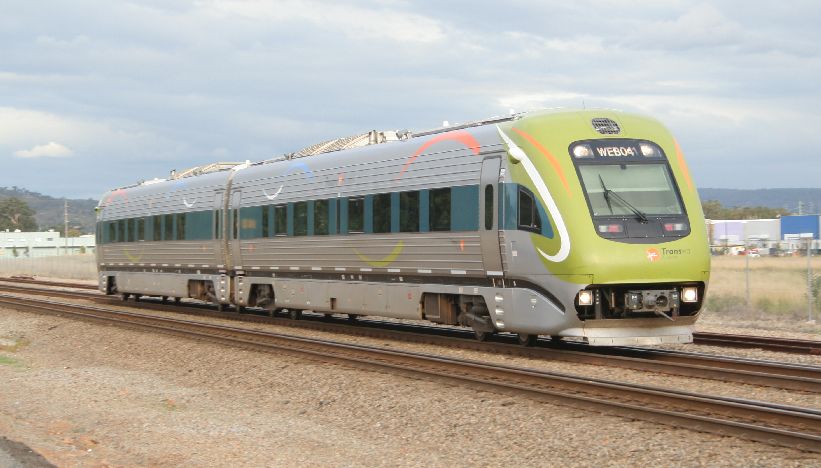
TransWA Prospector |
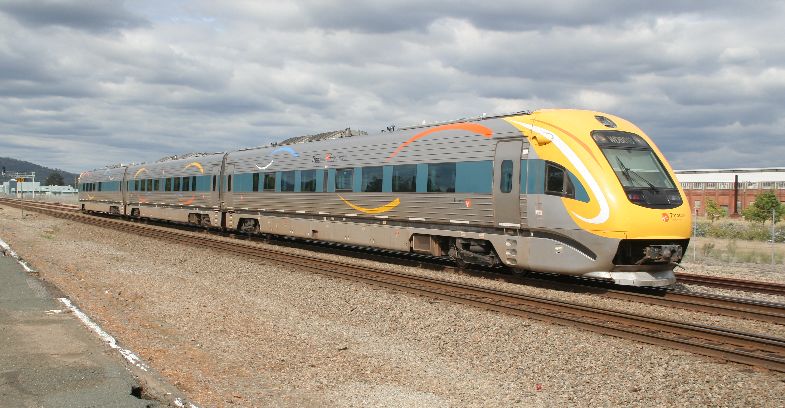
TransWA Avonlink |
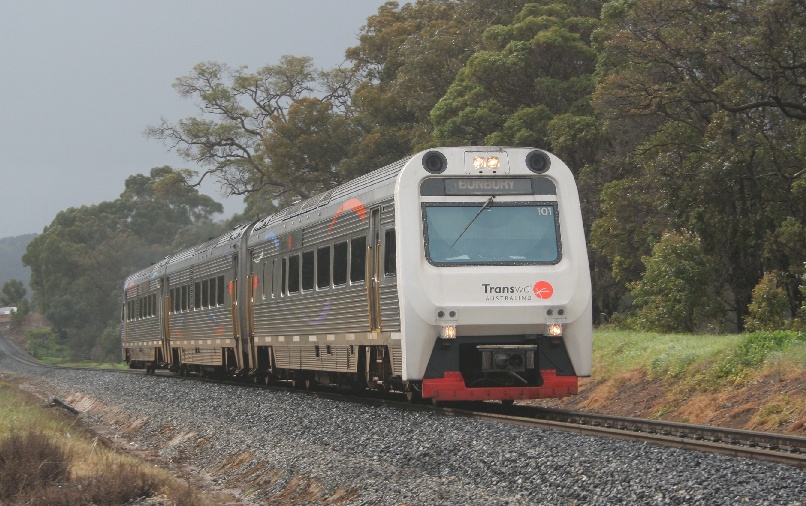
TransWA Australind |
|
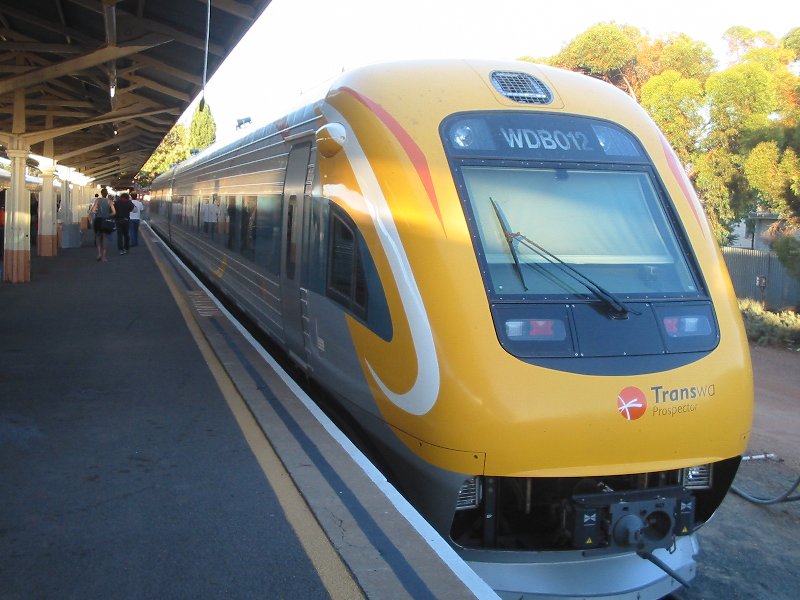
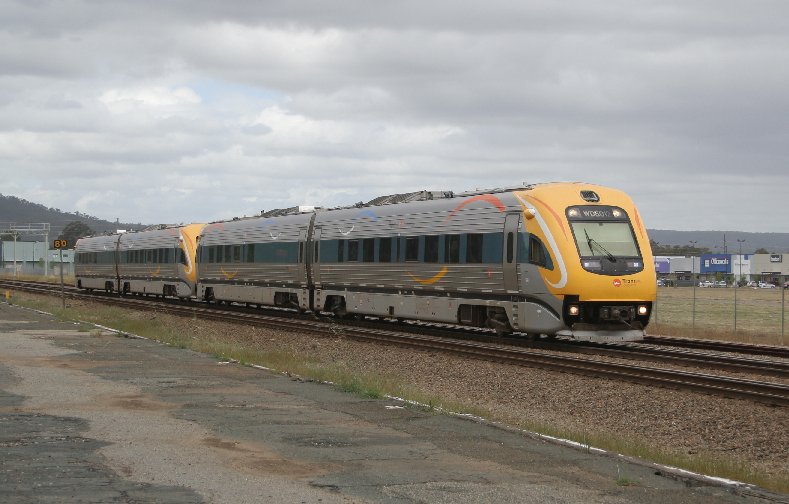
TransWA Prospector
|
TransWA Prospector through Midland |
TransWA 3-car Prospector on its way to Kewdale. Travelling on east leg of Woodbridge triangle due to trackwork on the Midland line. |
TransWA Prospector leaving Flashbutt siding |
|
TransWA AvonLink at Midland |
TransWA Prospector 3 car set at Midland |
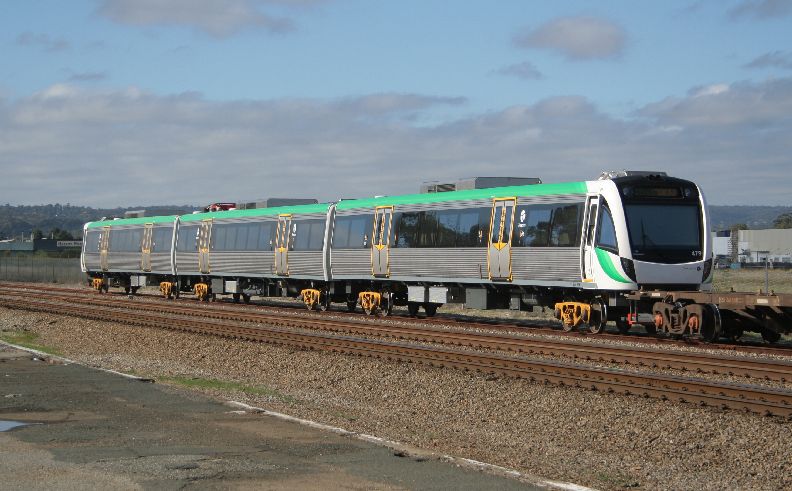
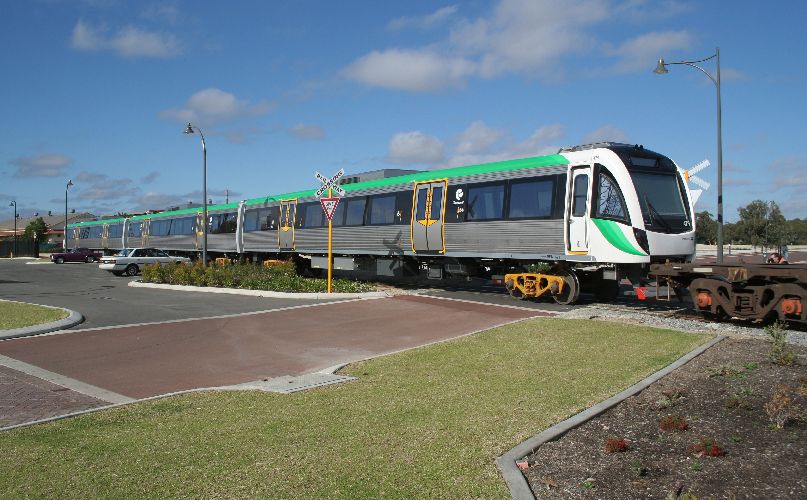
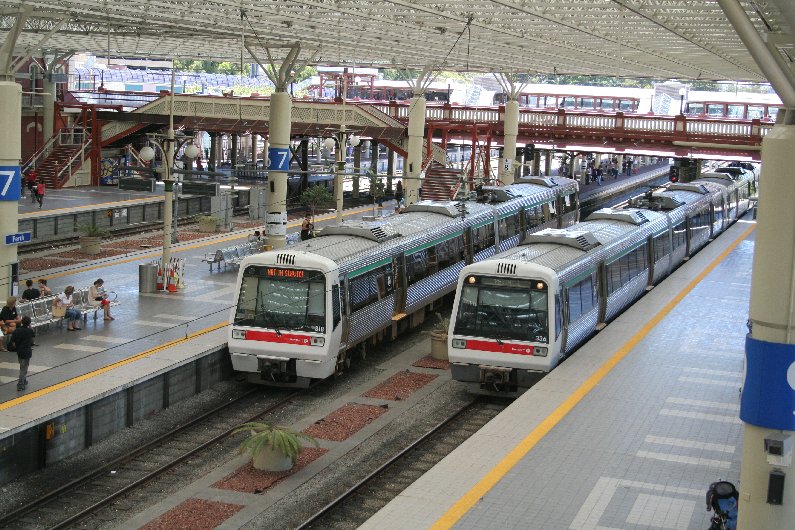
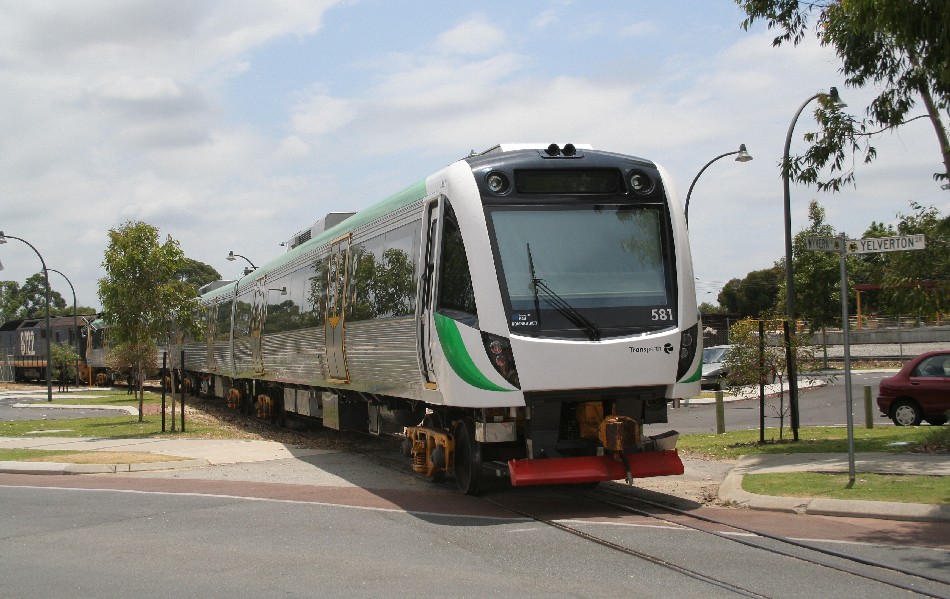
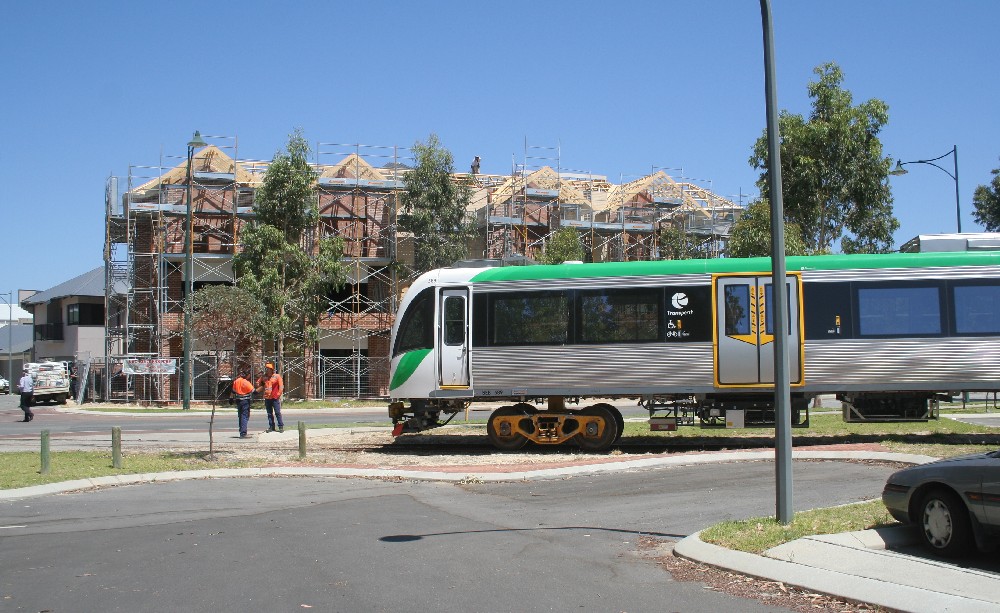
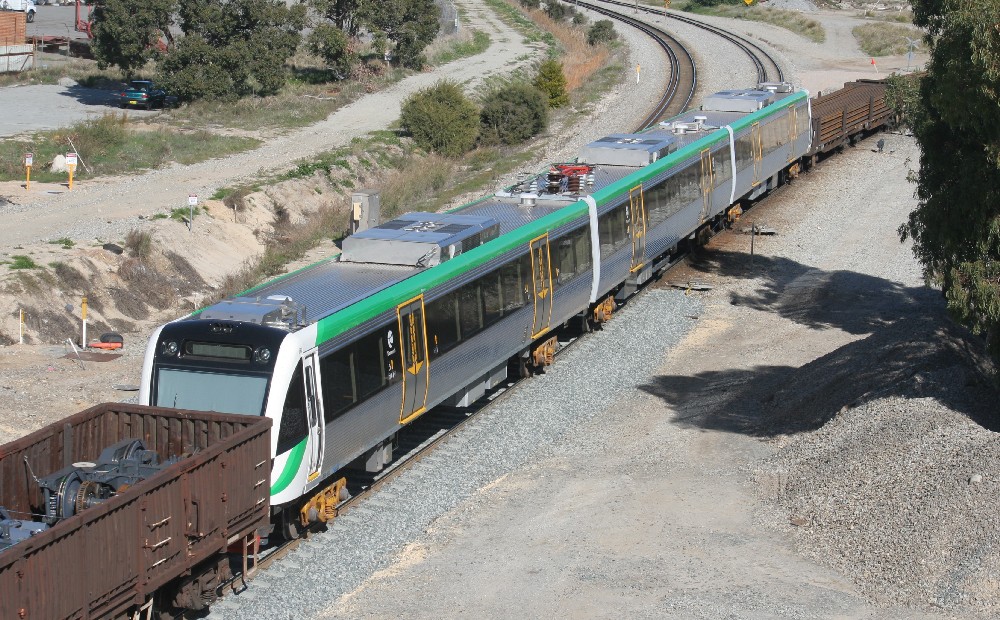
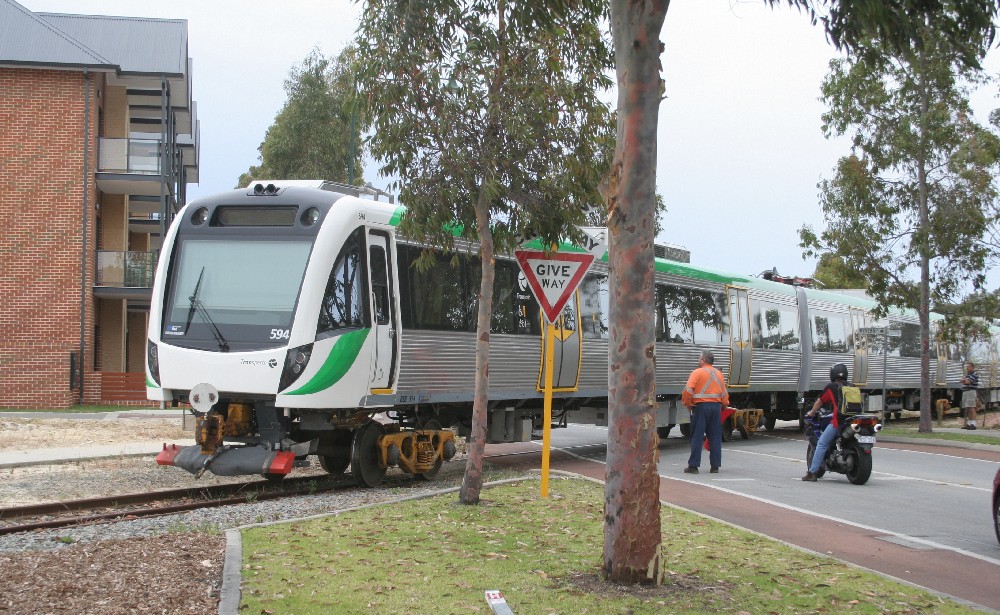
TransPerth B-set EMU 478 on standard guage transfer bogies at Forestfield |
TransPerth B-set EMU 478 on standard guage transfer bogies at Forestfield |
|
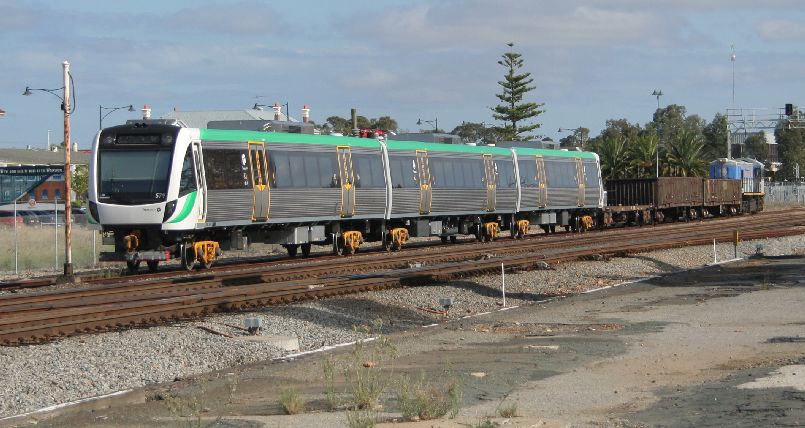
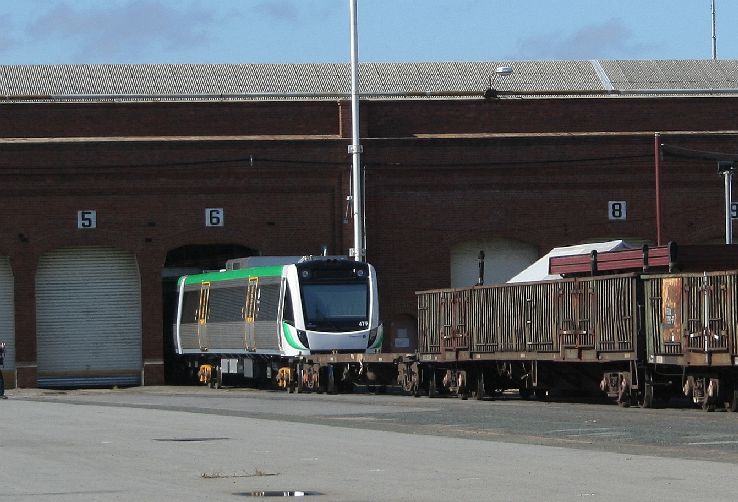
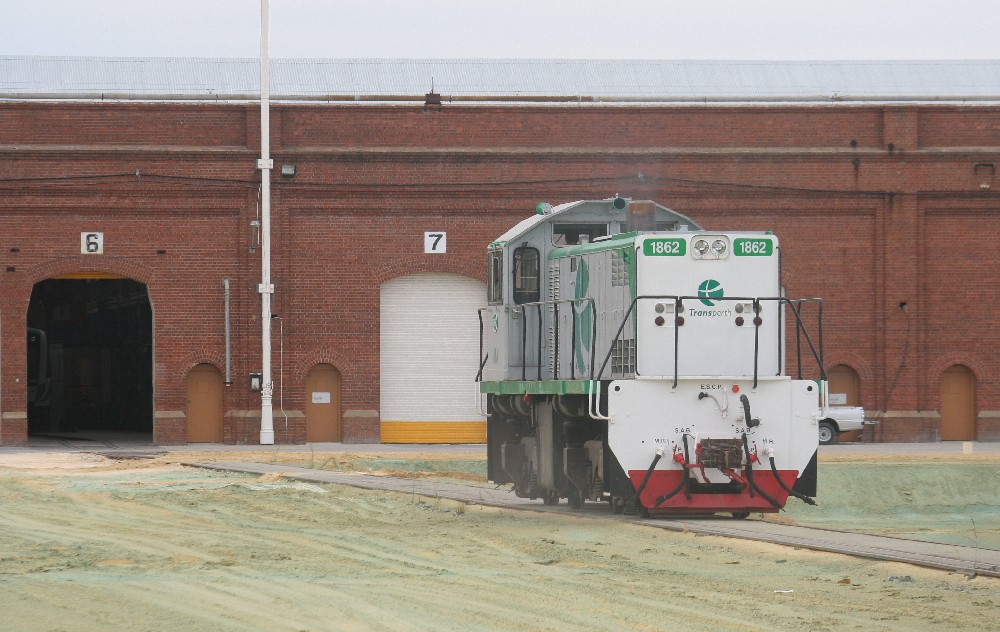
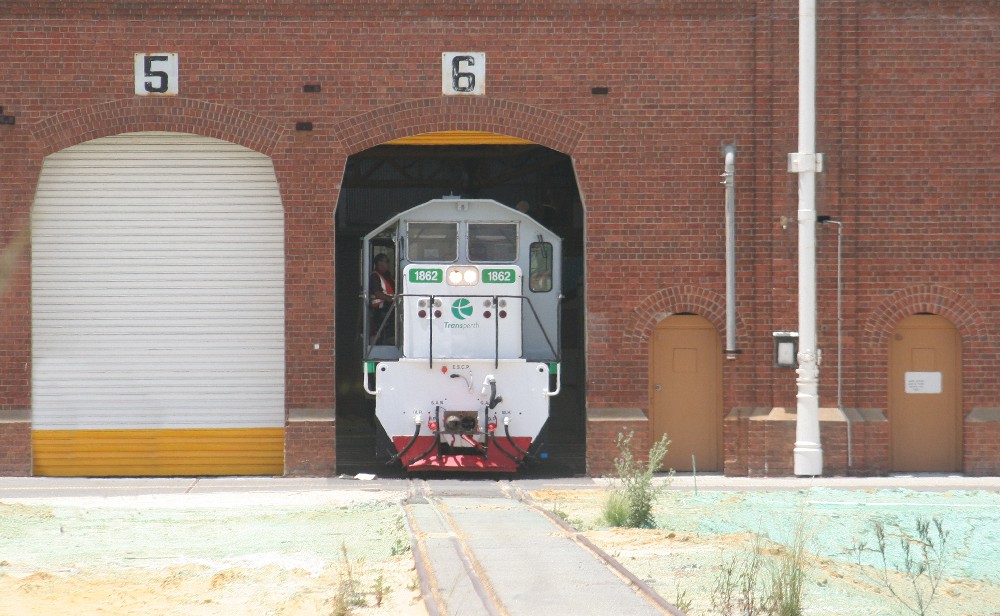
KA212 takes EMU 79 to Midland workshops. To enter the workshop, the train must run to the Flashbut siding and then back into the workshop siding. |
EMU 79 behind KA212. Note the standard guage transfer
bogies. |
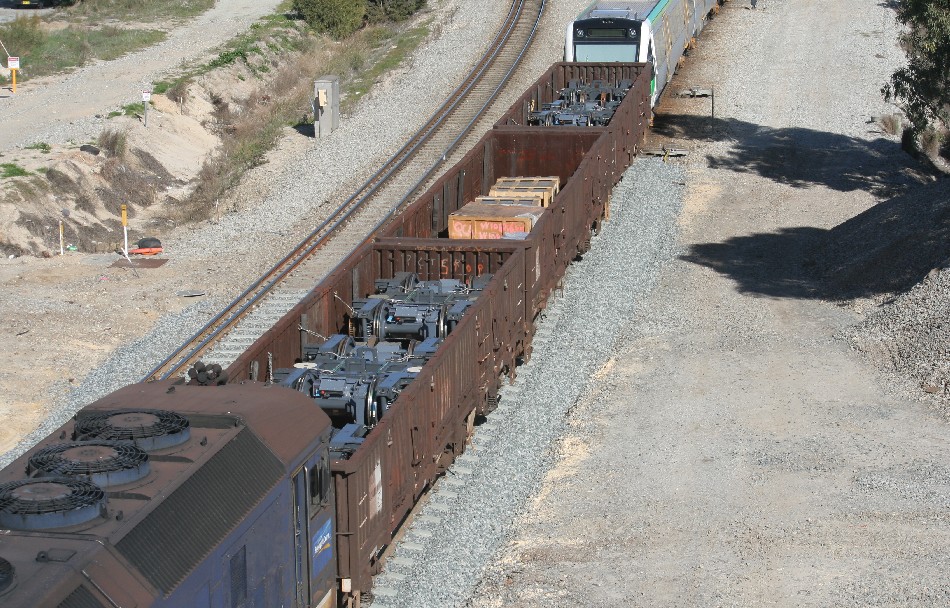
EMU 79 with brake booster trucks. The bogies of the EMU are in the two trucks. The trucks and the flatcar provide braking as the EMU has no brakes on the transfer bogies. |
EMU 79 being pushed into the Midland Workshops. Here, the EMU is put onto its final narrow guage bogies before being taken to Nowergup for final fitting out. |
|
A few old carriages were in the way, so they were coupled to the EMU and moved to a different siding |
EMU 79 about to disappear into the workshops. |
EMU 79 moving into workshops. |
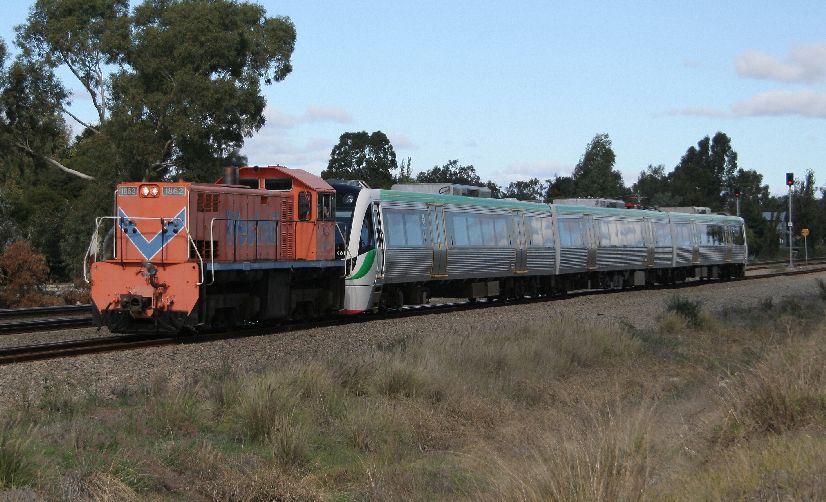
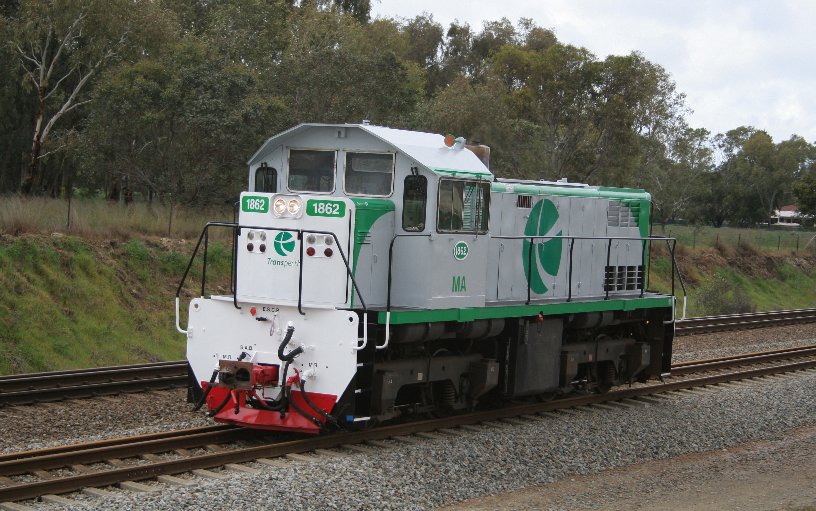
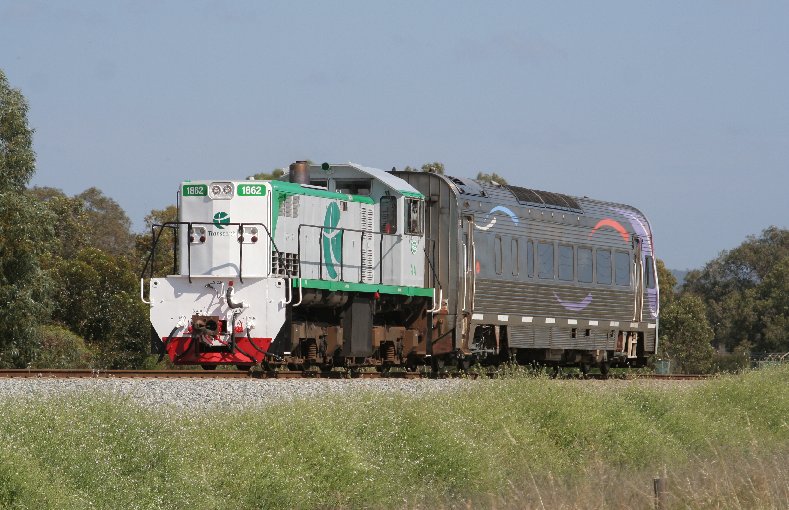
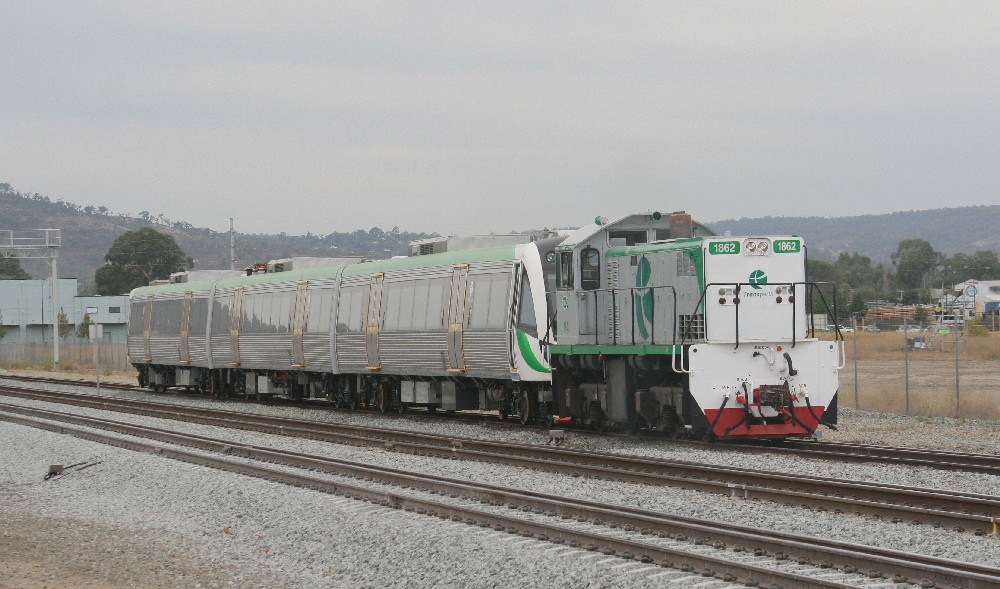
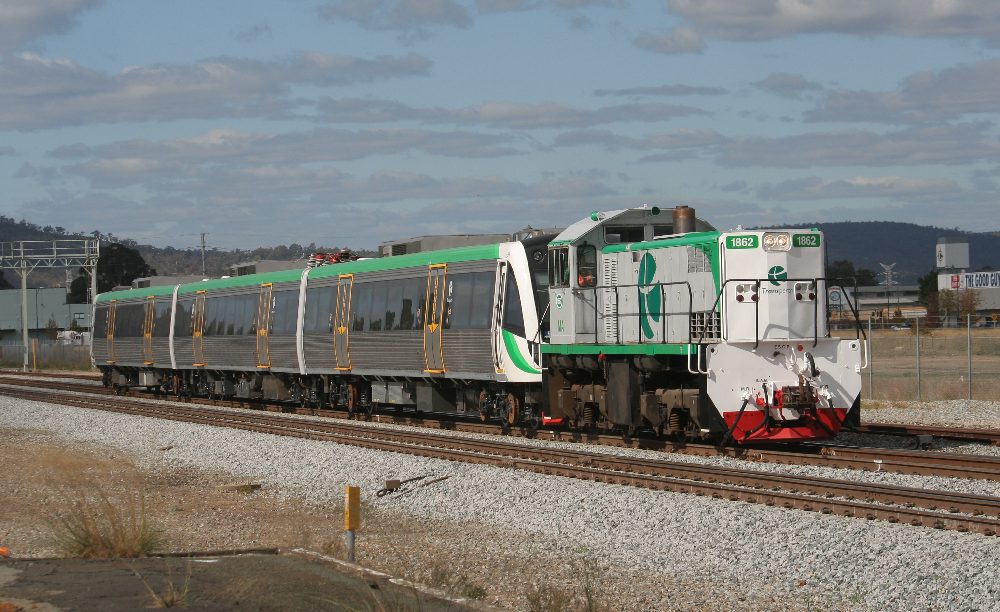
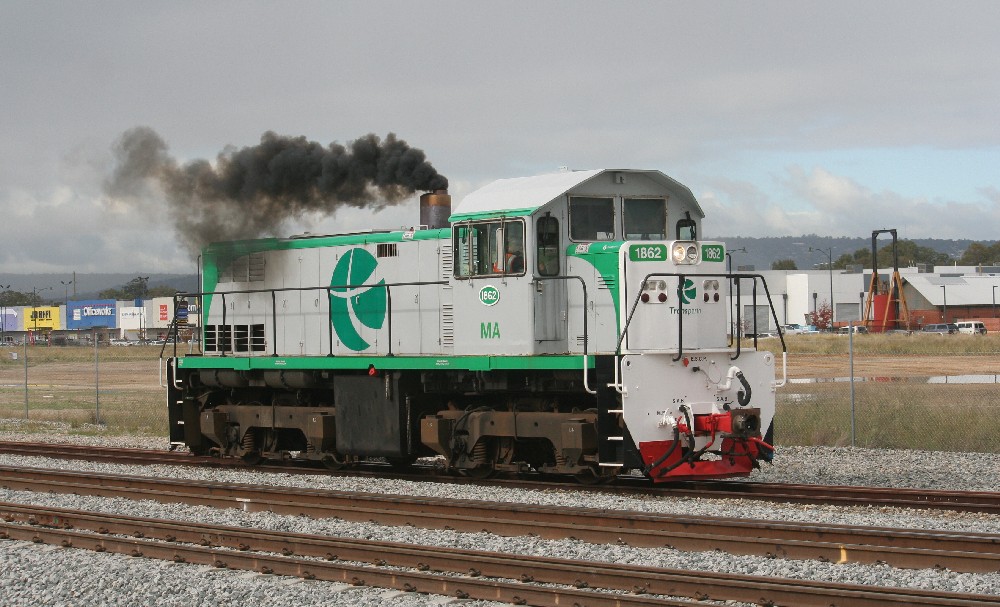
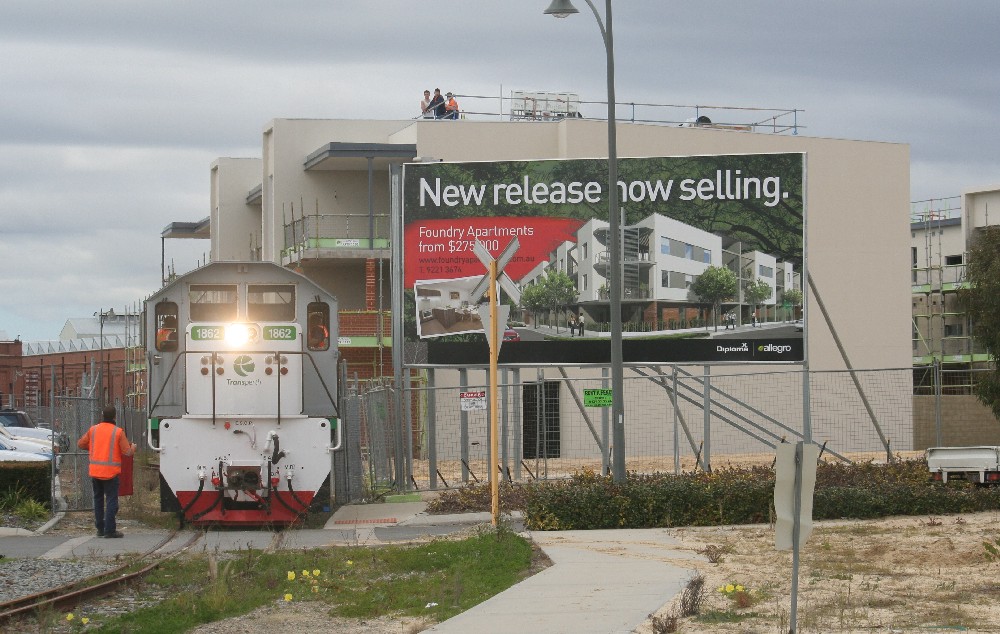
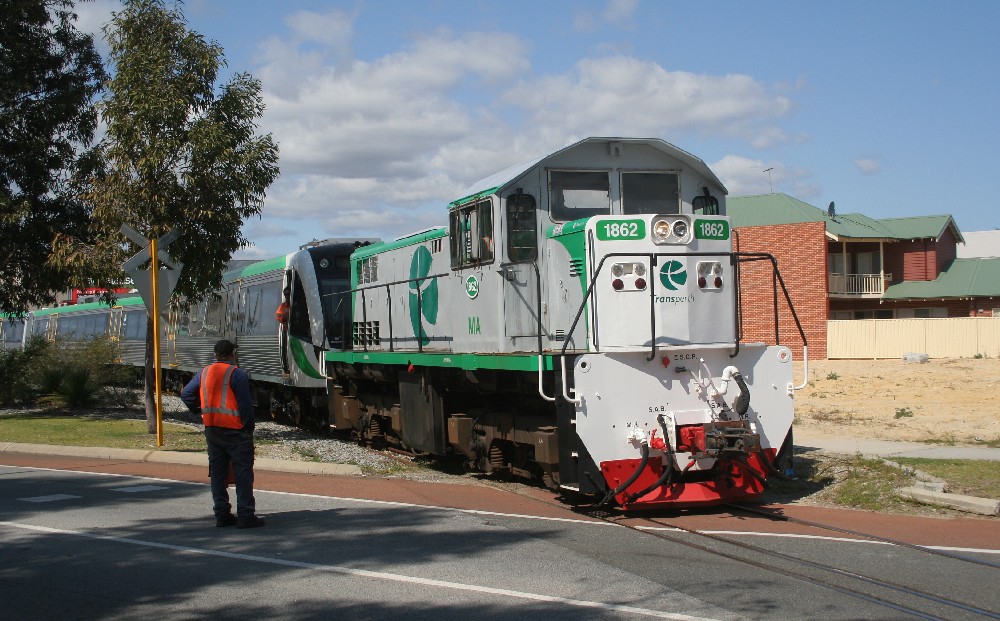
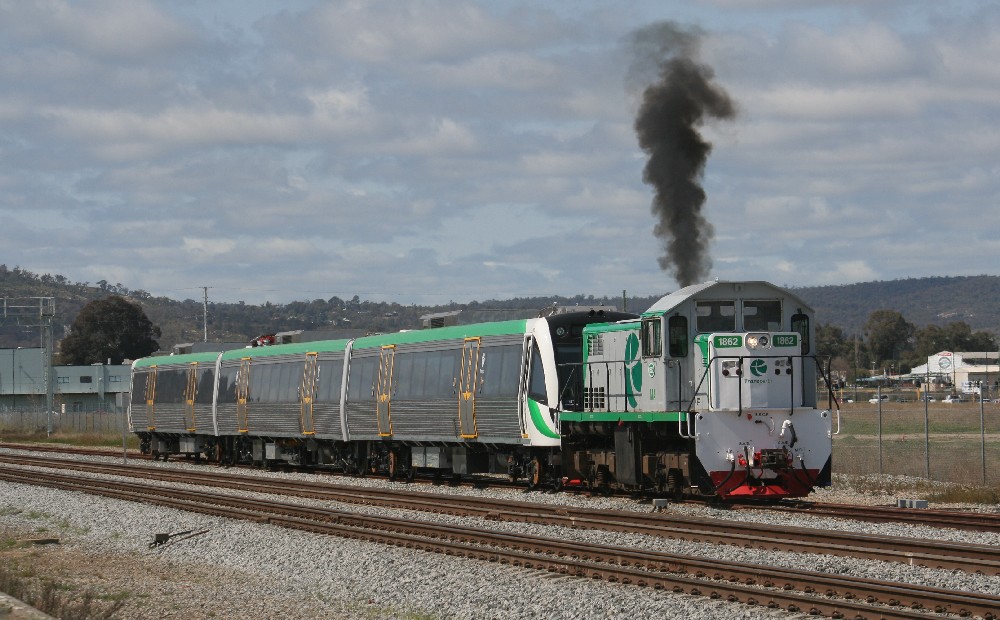
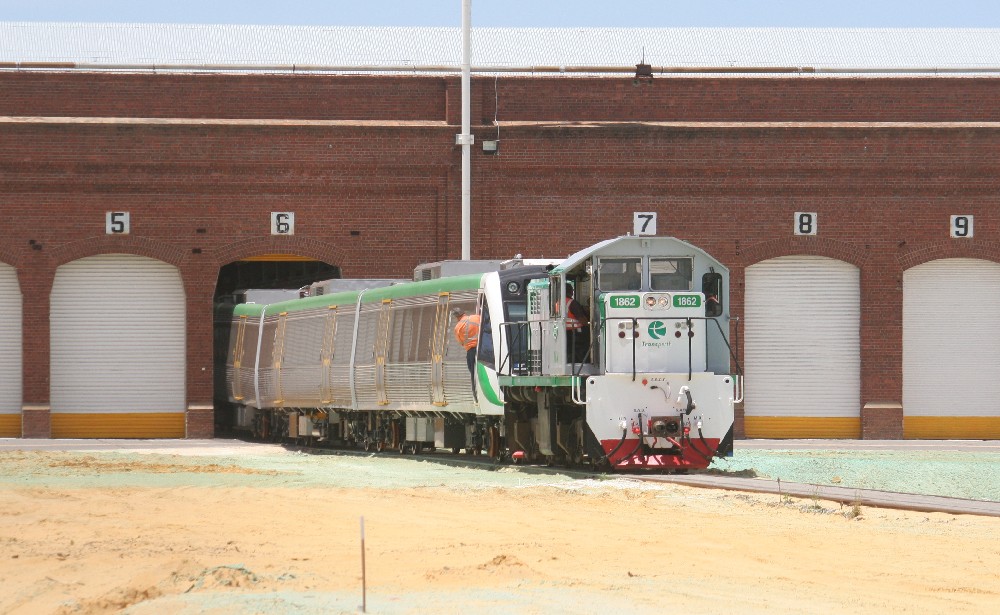
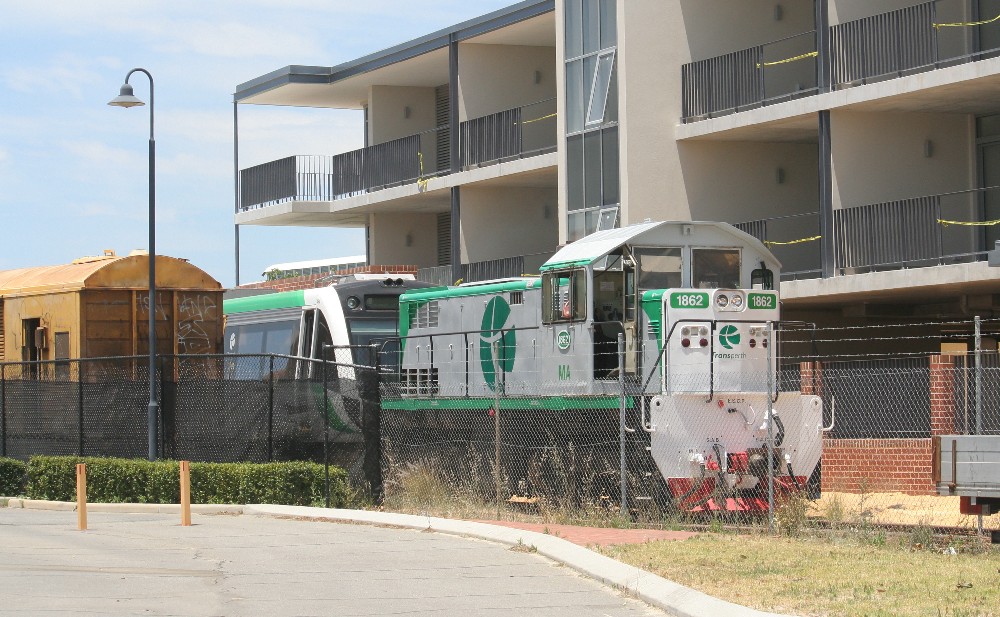
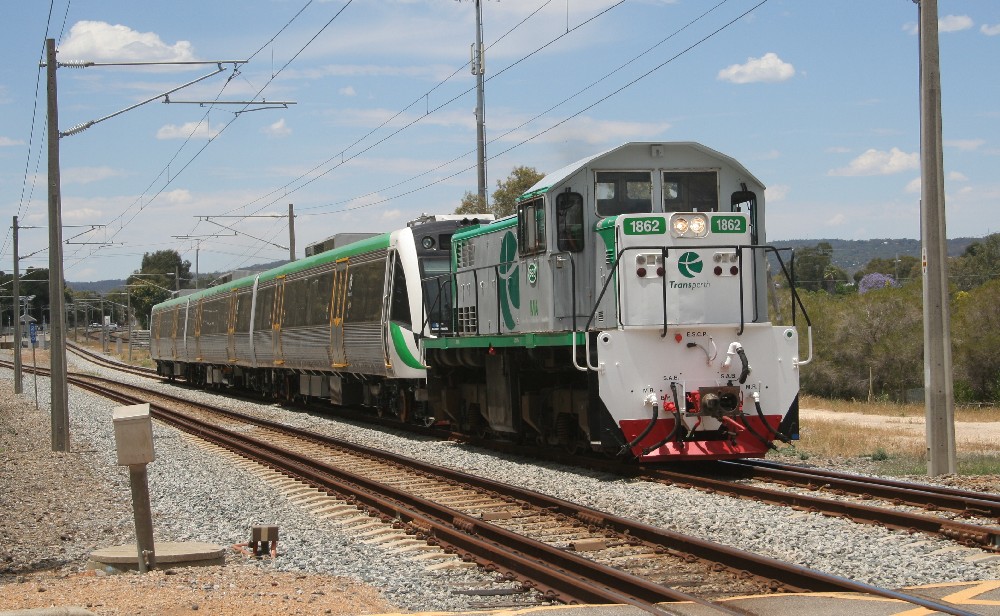
WAGR MA1862 hauling B-set 61 from Forrestfield |
|
WAGR MA1862 hauling B-set 61 from
Forrestfield |
WAGR MA1862 hauling B-set 61 from Forrestfield |
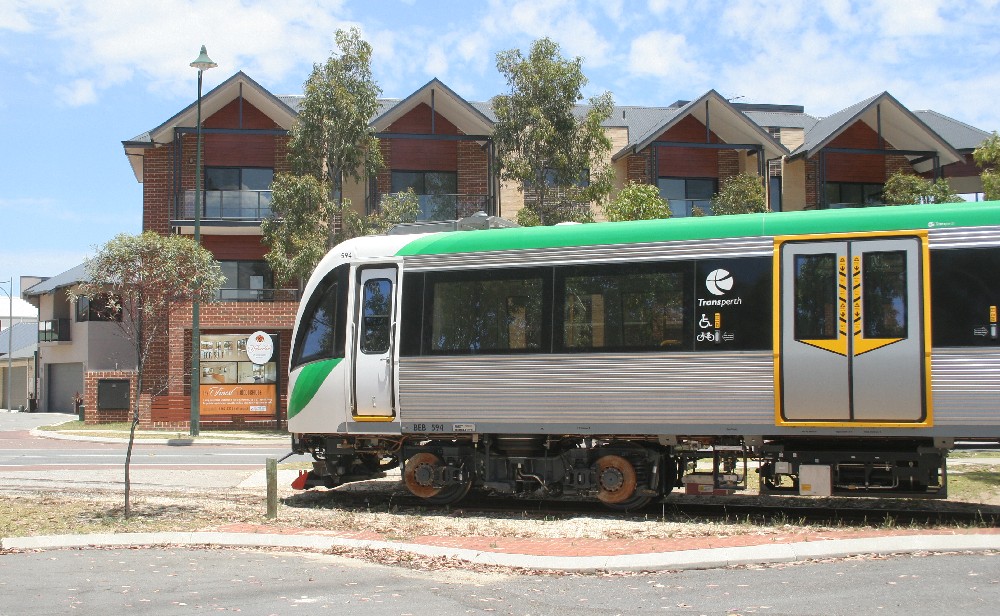
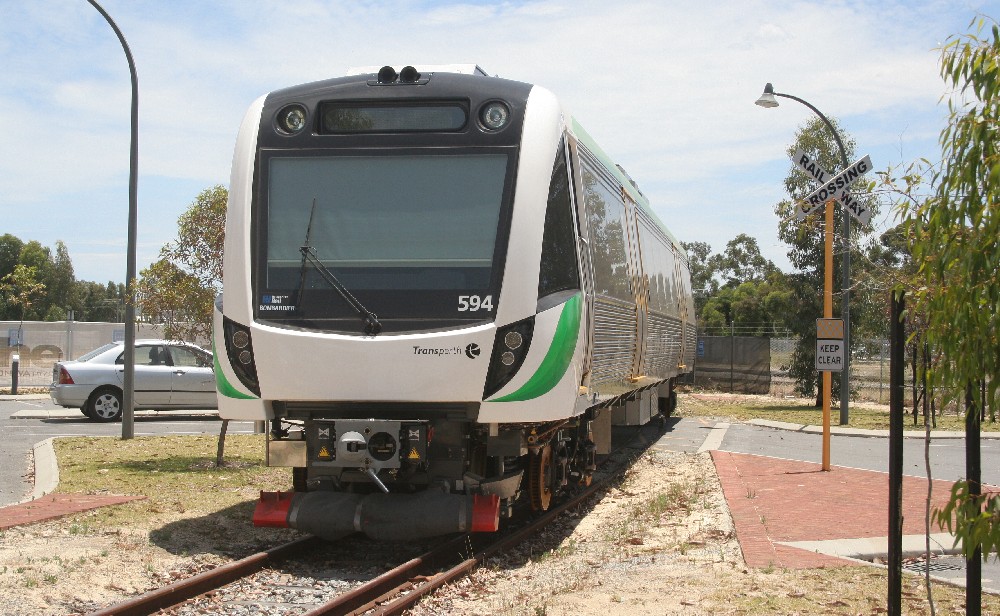
TransPerth A-set 6
|
TransPerth B-set 57 |
|
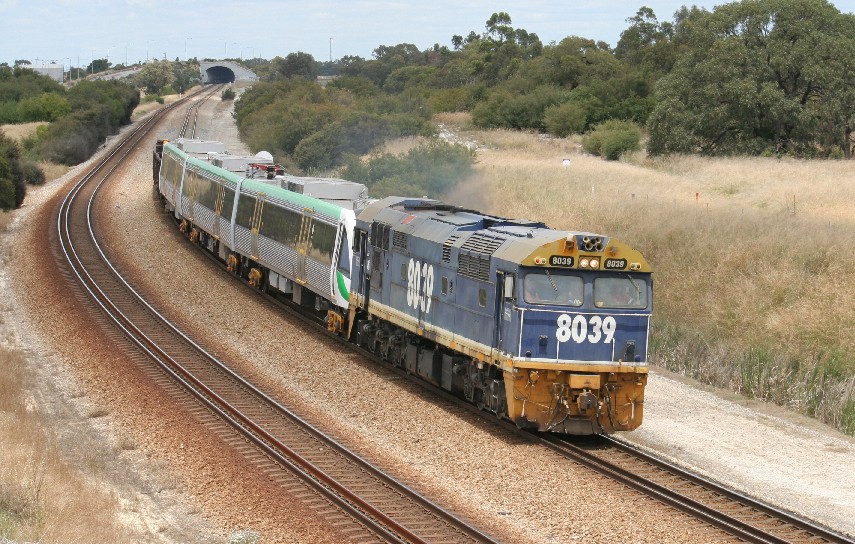
TransWA Australind pausing at Pinjarra |
TransWA Australind pausing at Pinjarra |
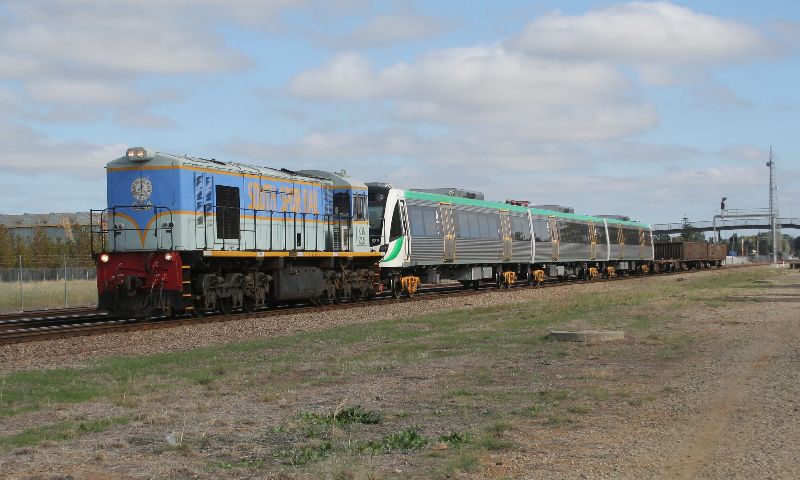
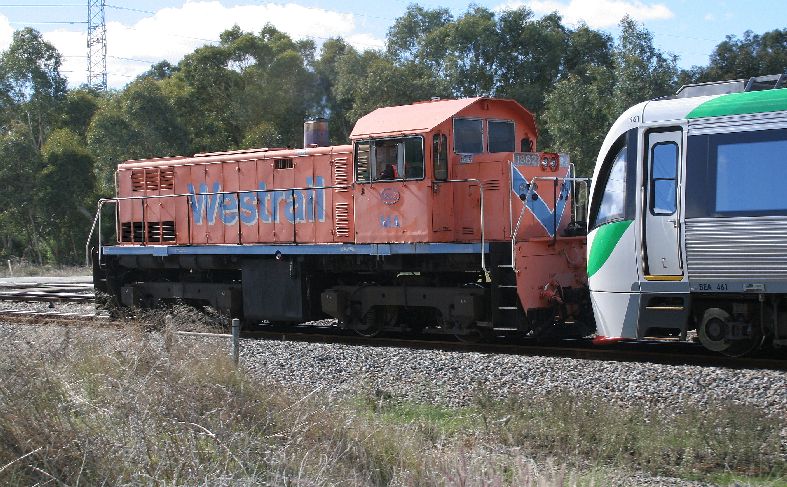
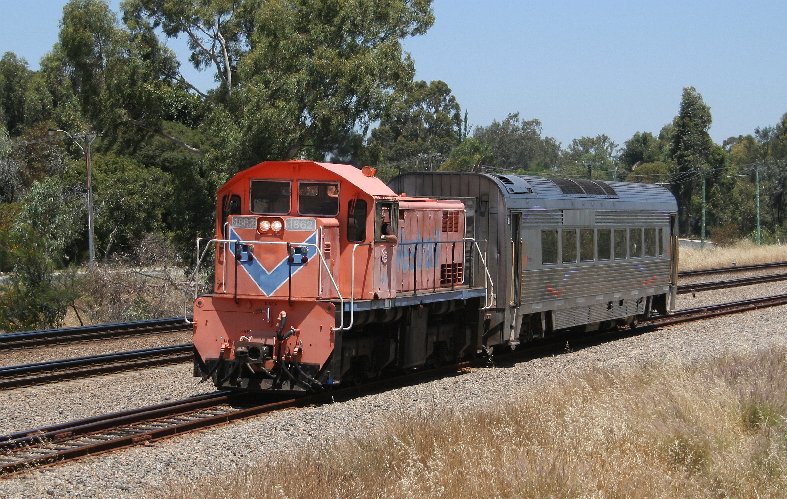
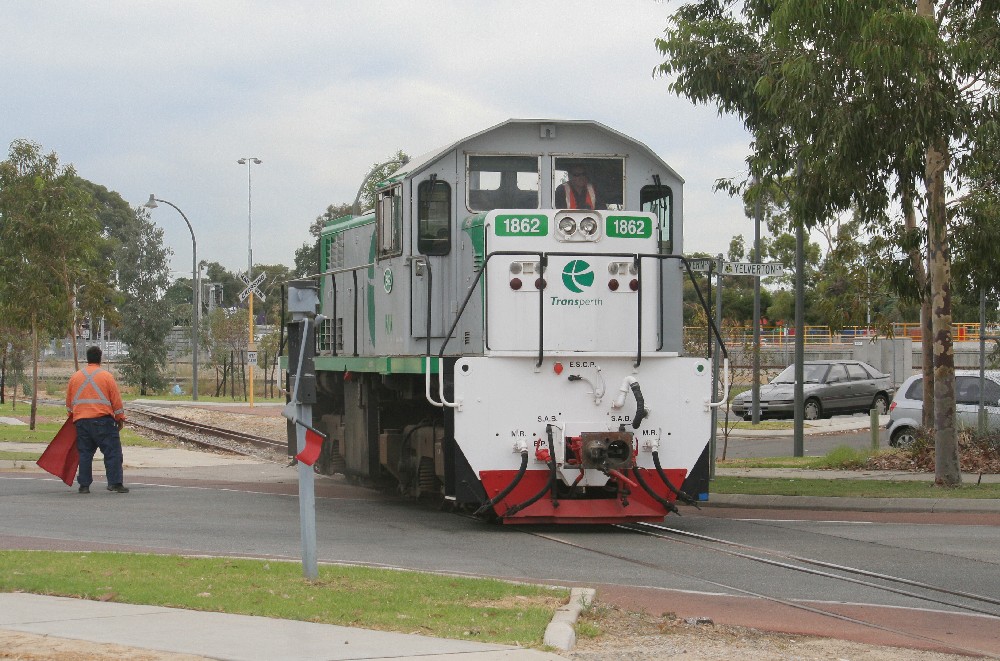
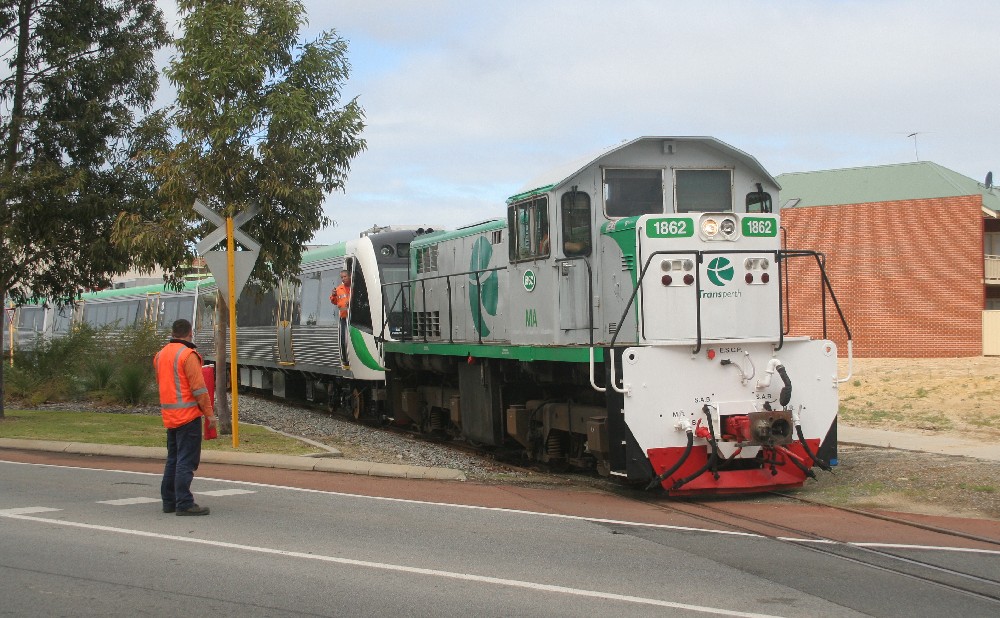
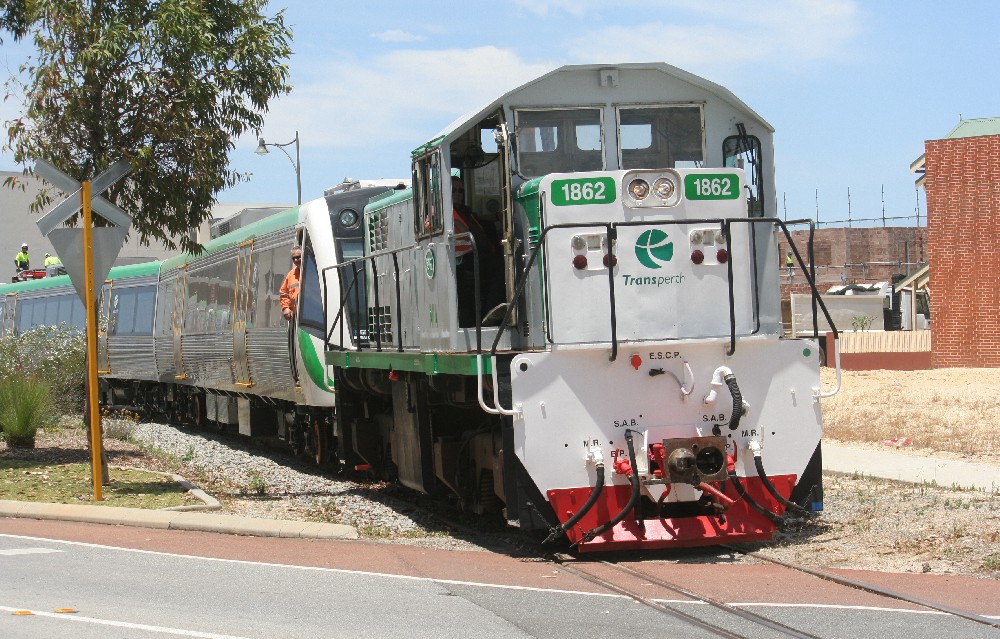
MA1862 light engine to Forrestfield to pick up an
A set. Seen crossing Bushmead Road |
MA1862 with A set 33 heading back to Claisebrook at Bushmead Road |
|
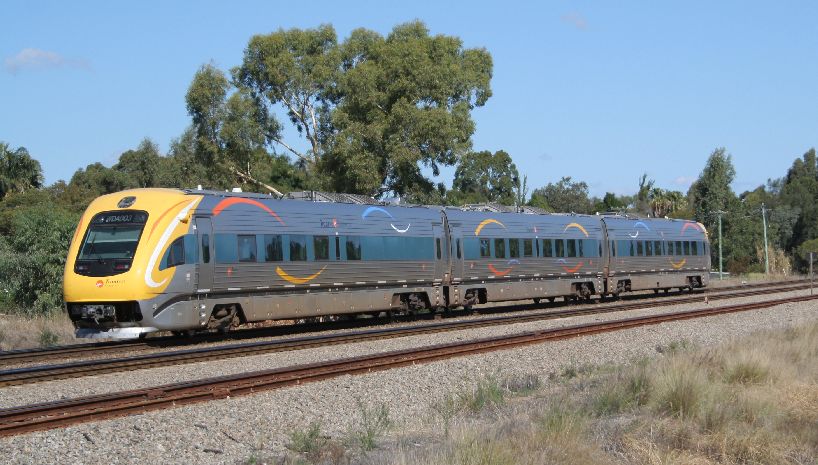
4 car Prospector through Midland |
MA1862 turning Australind carriage on the triangle seen at Midland |
MA1862 coming out of the Flashbut siding to run round the Australind carriage |
A- set 4 on bridge north |
|
MA1862 with Australind carriage heading for Claisebrook
at Bushmead Road |
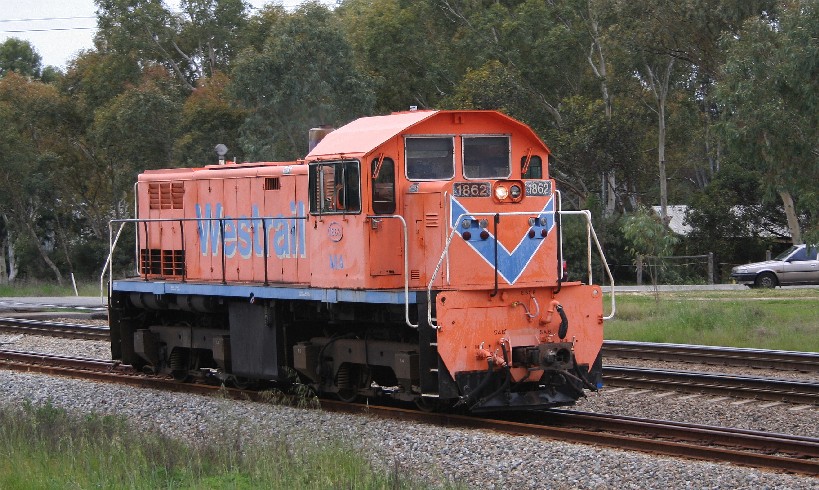
MA1862 light engine |
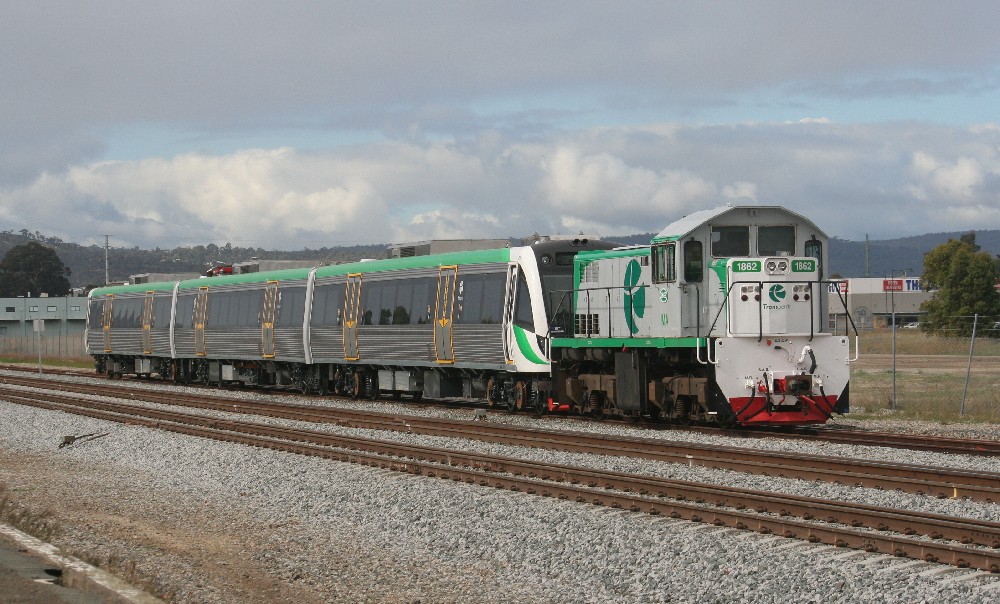
MA1862 with B-set 57 |
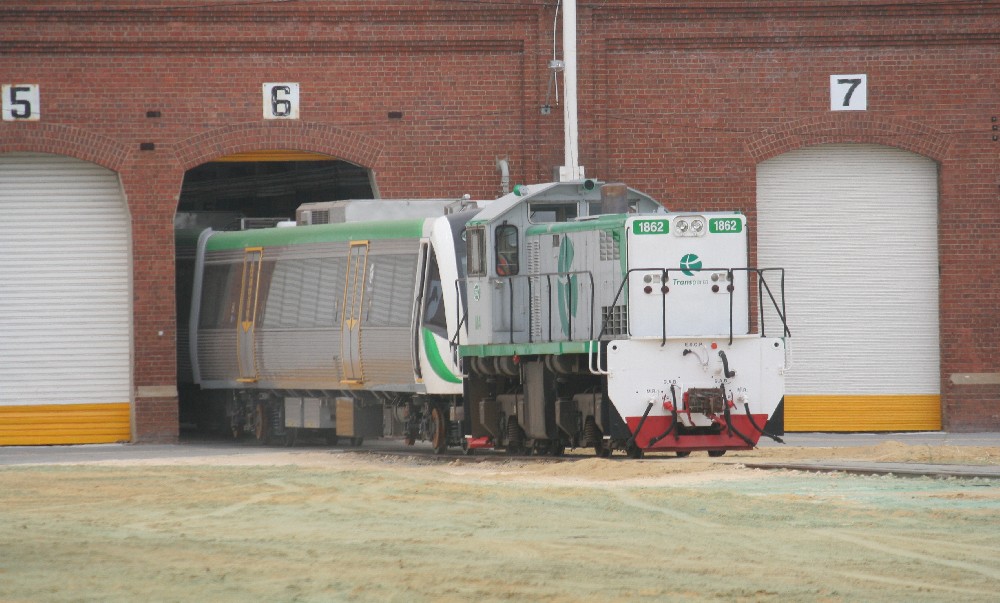
MA1862 in new PTA livery light engine after delivering a B-set to Forrestfield. |
|
MA1862 light engine through Guildford |
The Australind near |
The Australind near Roelands |
MA1862 light engine near West Parade |
|
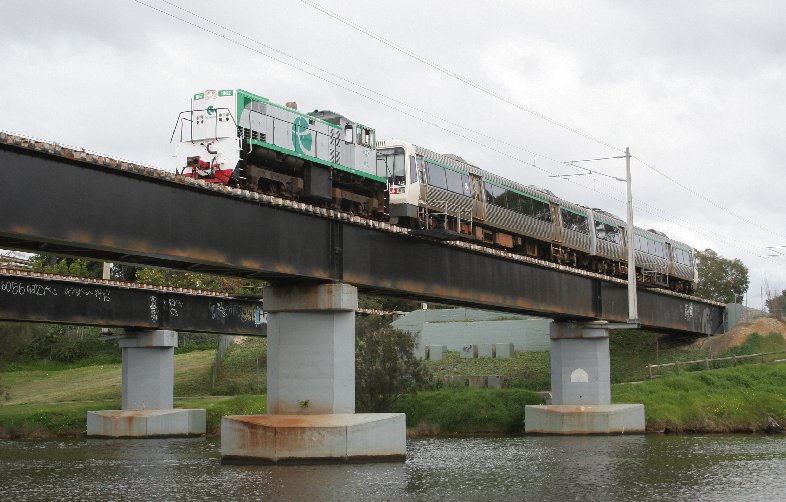
MA1862 hauling A-set 42 across the Swan River at Guildford |
MA1862 hauling A-set 42 back to Claisebrook from Forrestfield |
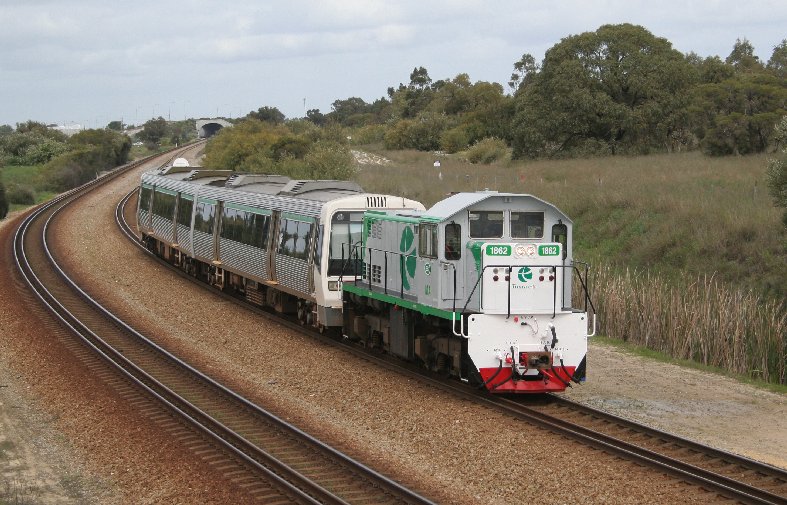
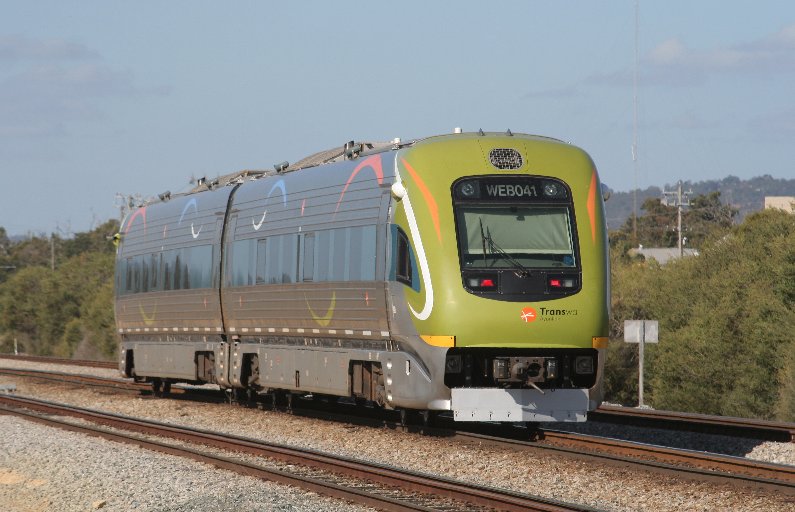
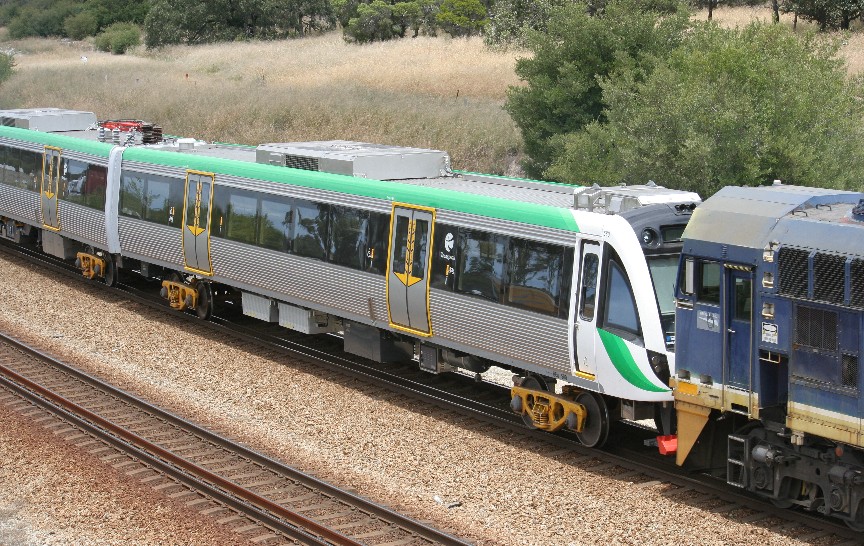
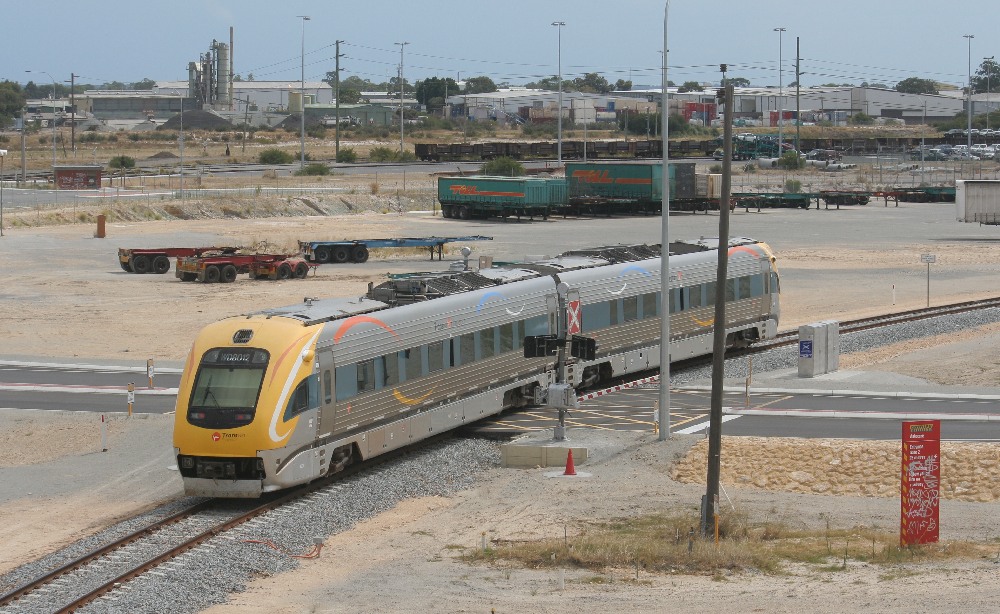
Australind ADP102 leaving Flashbut siding in Midland during a turn on the Woodbridge triangle. It and the MA drove to Forrestfield separately |
MA1862 hauling Australind ADP102 back to Claisebrook |
|
The Avonlink departing Kewdale for East Perth |
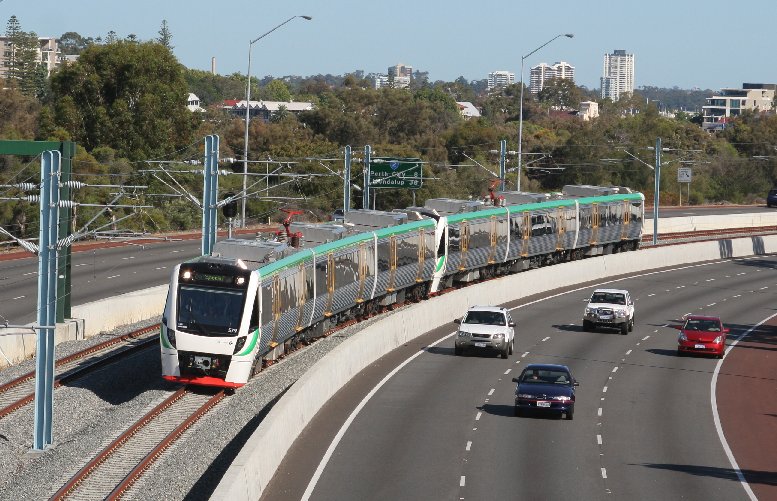
B-sets 79 and 78 on the first official train on the Mandurah Railway on 23/12/07. This train was the 'Dignitary Train' |
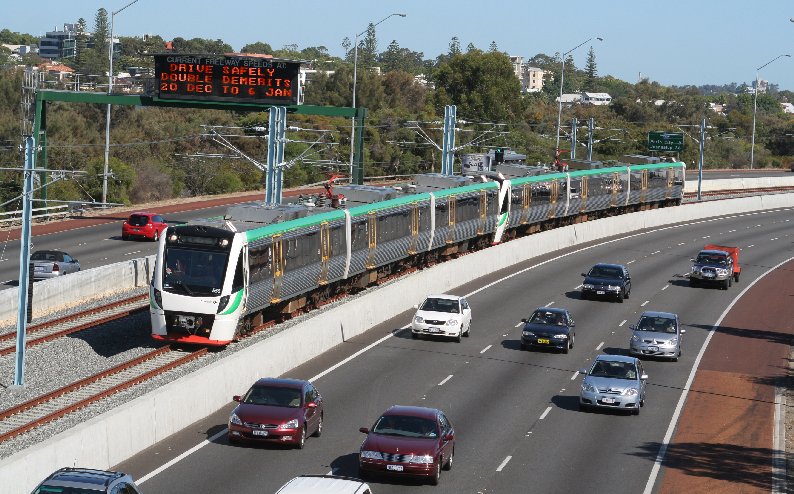
B-sets 66 and 70 on the second official train on the Mandurah Railway. This train carried some of the people who built the railway. |
B-sets 55 and 73 on the third official train on the Mandurah Railway. This train carried the people that won the 'first train ride' competition. |
|
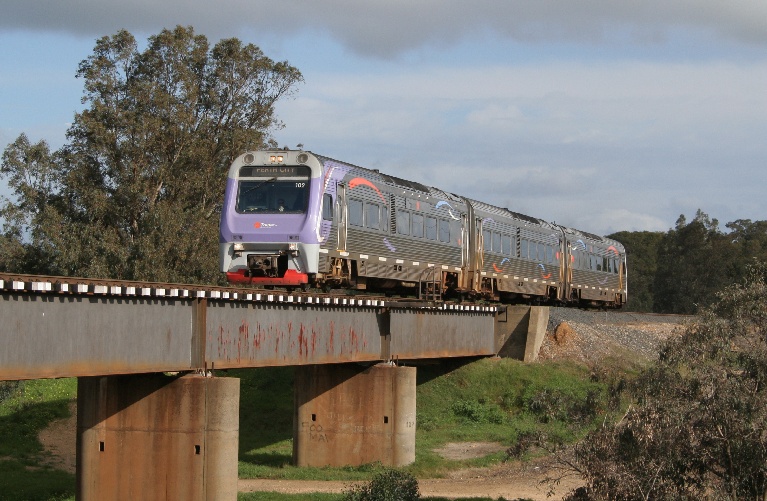
A-sets 18 and 36 at Perth Station |
B-set 61 and another B-set arriving at Mandurah Station |
Avonlink near Toodyay Road |
The Avonlink through Bellevue |
|
A-set 6 on a Midland service through Bassendean |
2 car Prospector heading into East Perth through Bassendean |
5 car Prospector beginning a long trip to Kalgoorlie through Midland |
|
|
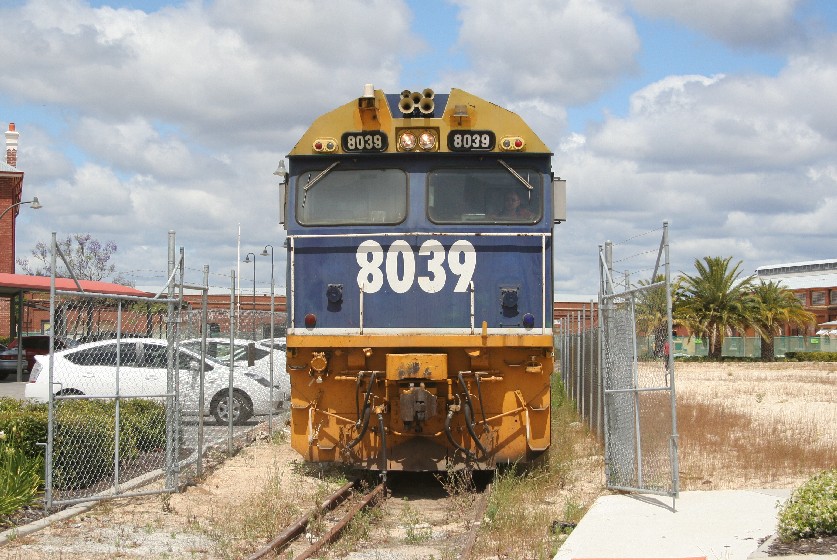
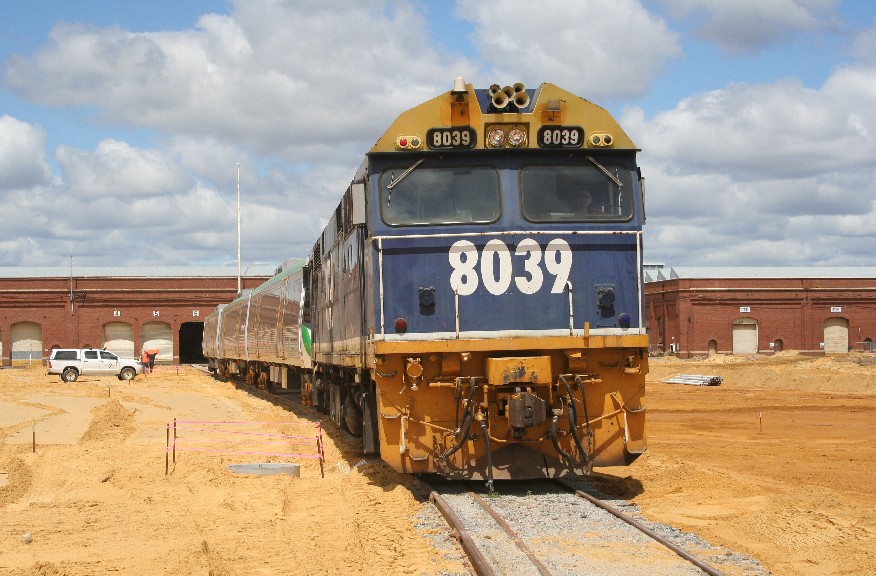
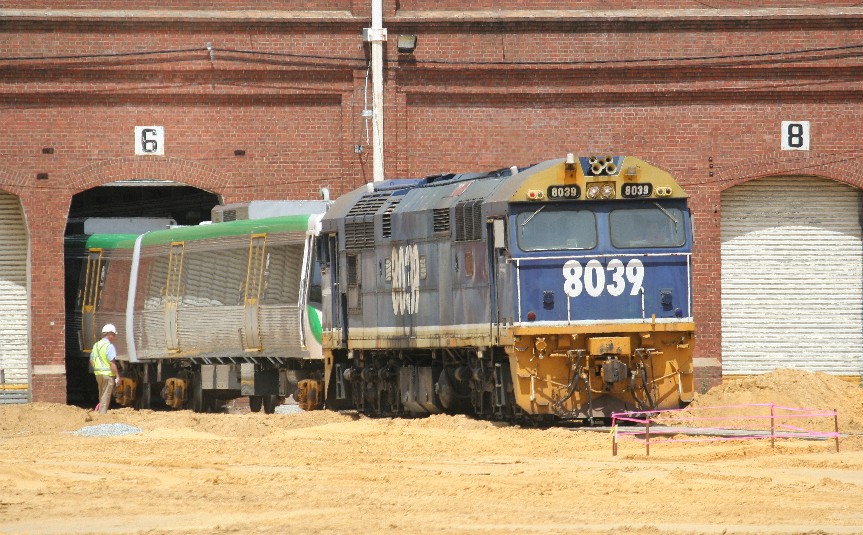
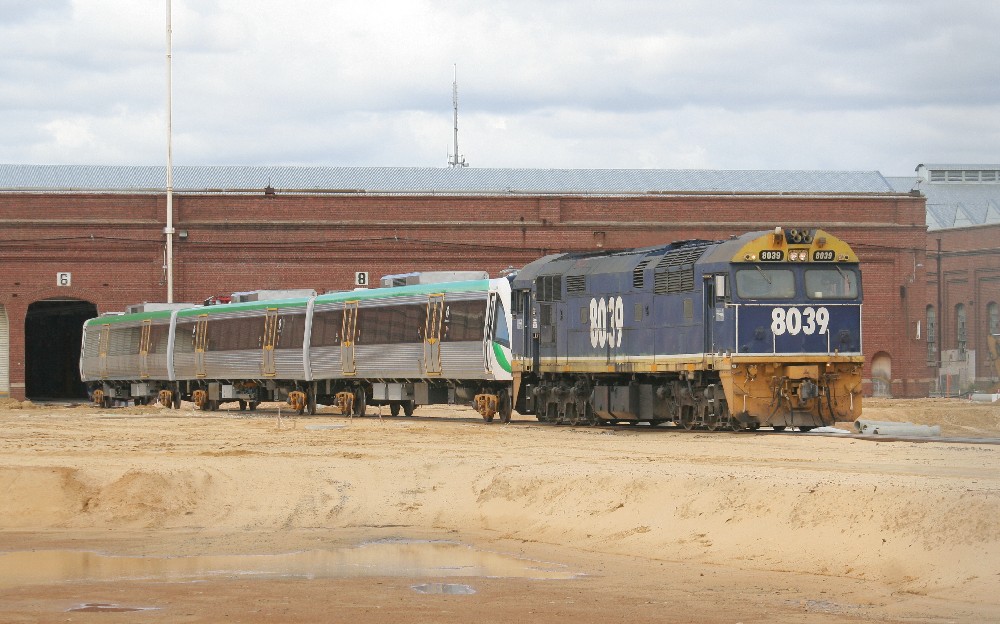
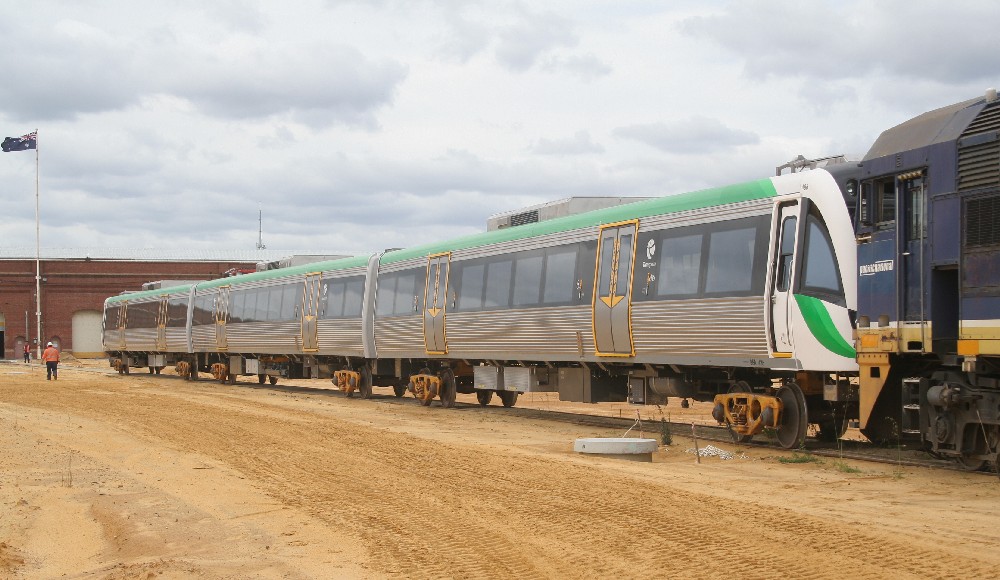
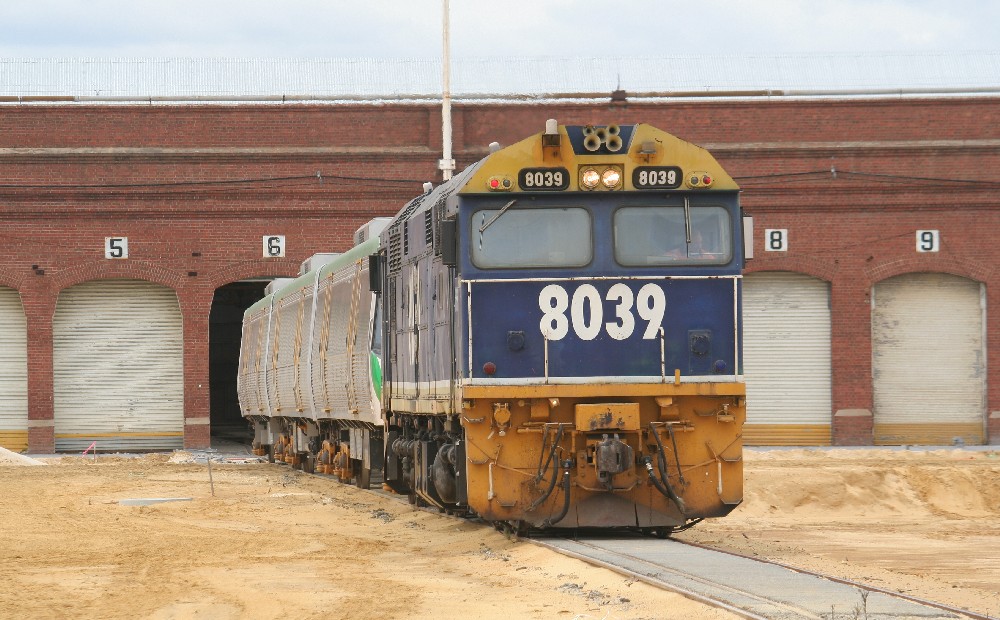
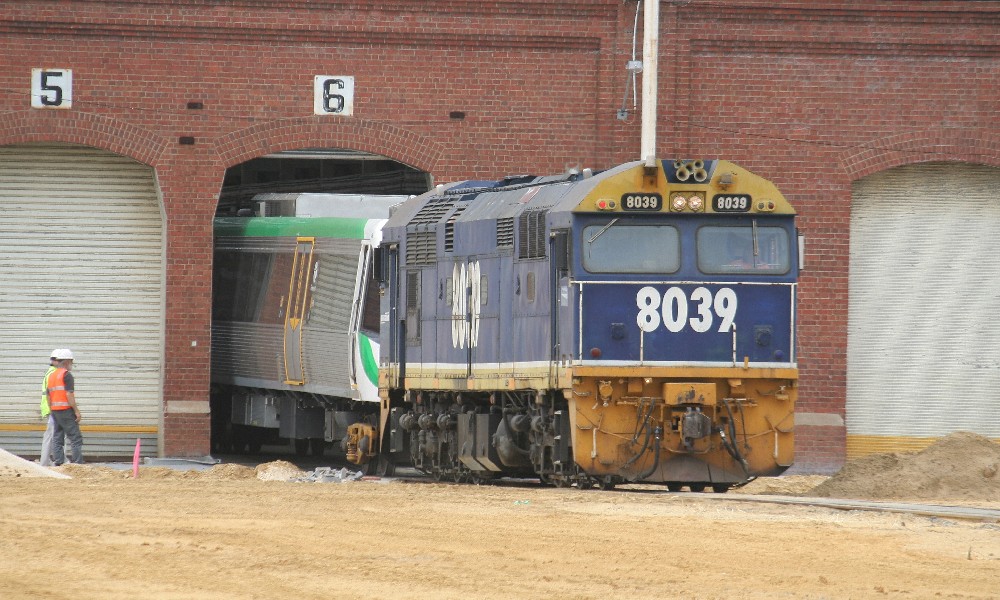
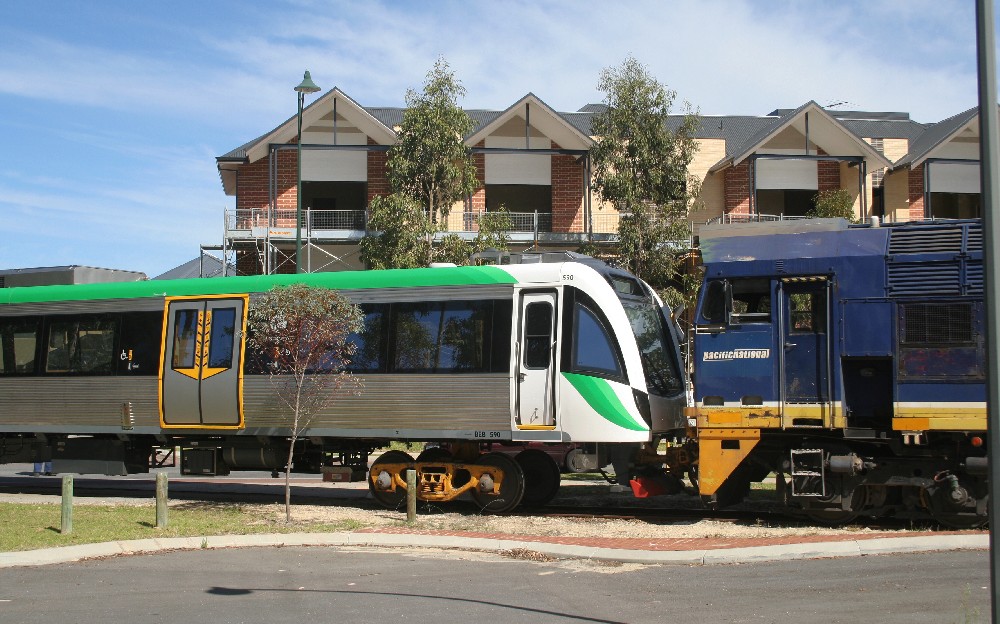
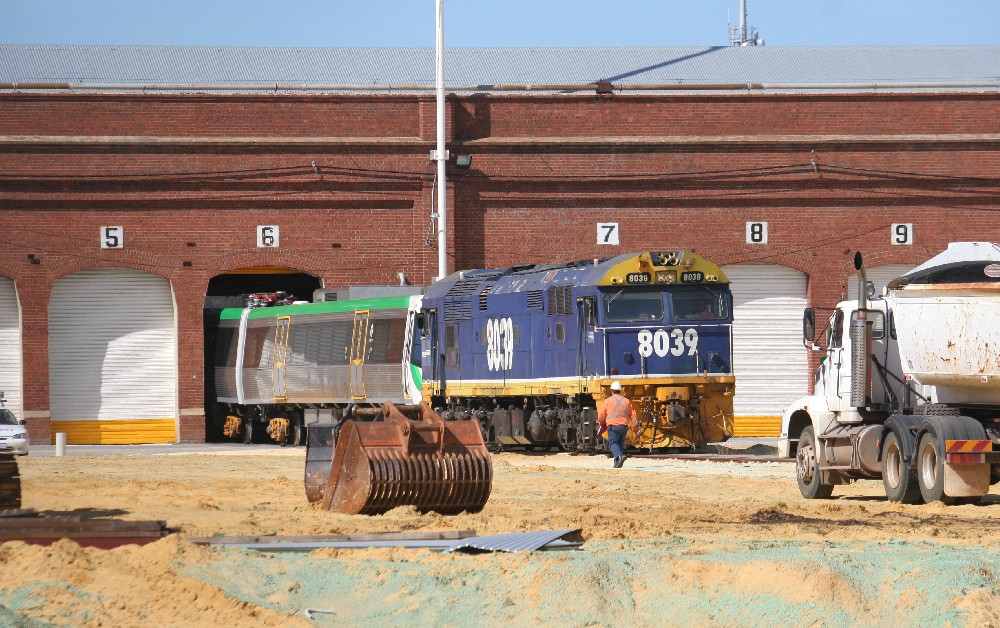
The nine photos below show the transfer
of B-set 80 from Kewdale to the Midland workshops. At the workshops,
the set is placed on its narrow guage bogies and the interior is partially
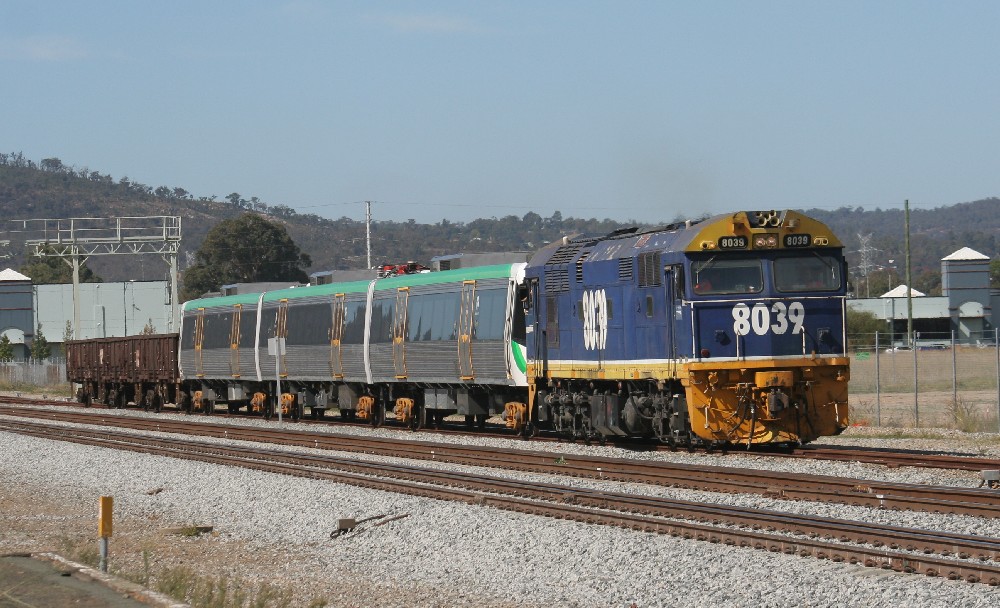
fitted out. Pacific National's 8039 did the job.
|
|||
|
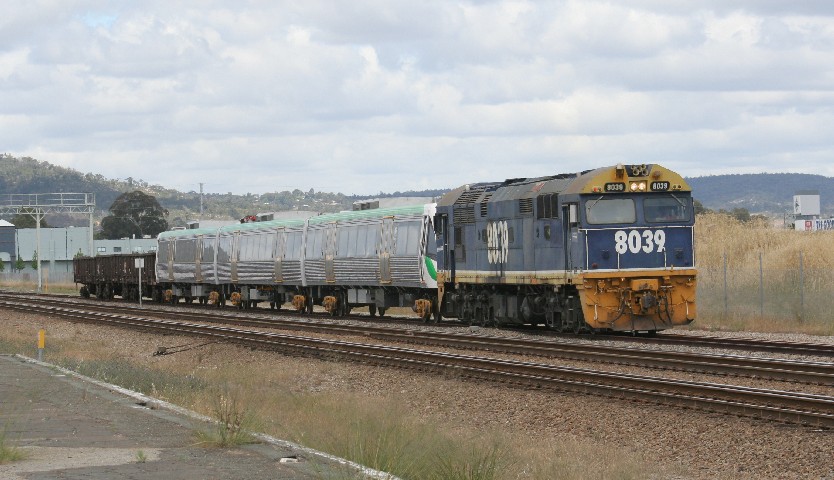
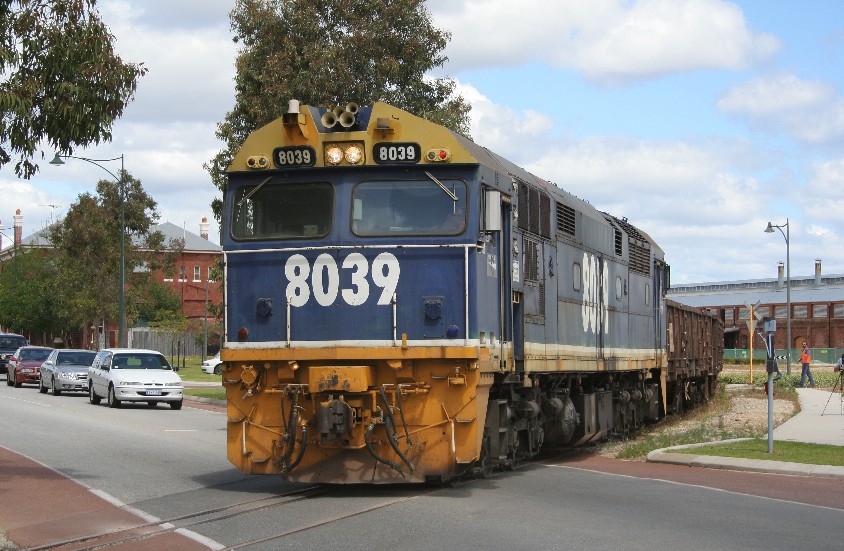
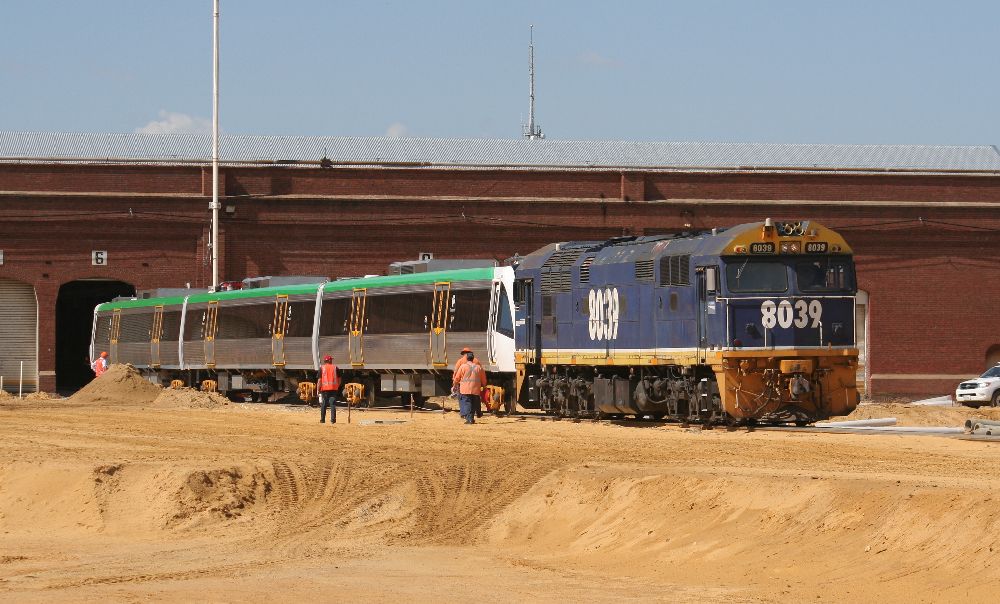
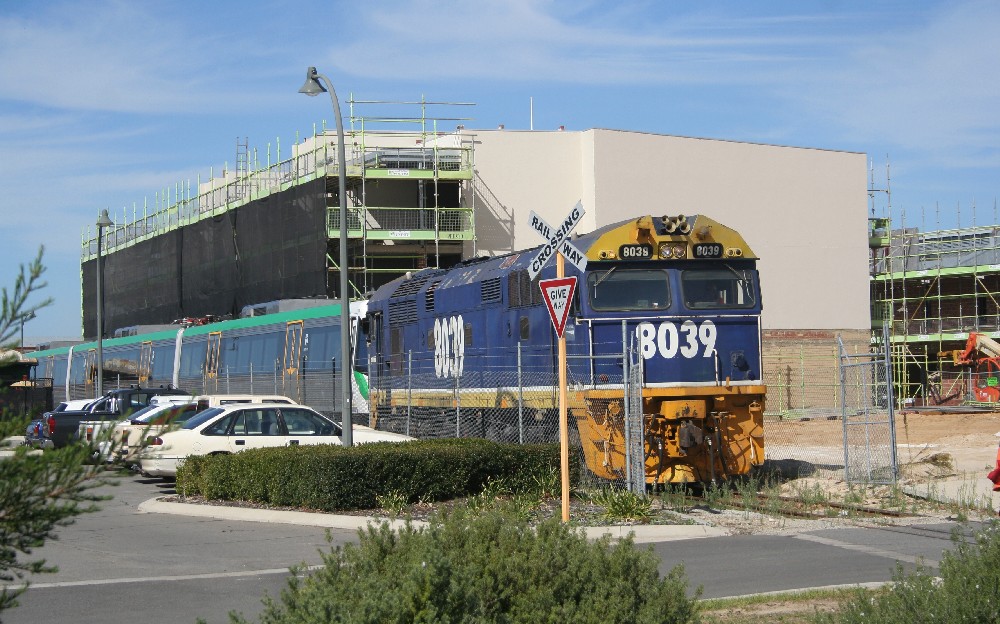
8039 hauling set 80 and trucks containing its bogies near Kalamunda Road |
Close up of BEB80 |
Heading towards the workshops in the loop at Midland |
Close up of the coupler |
|
B-set 80 being pushed across Yelverton Street by 8039 |
8039 pausing in the area where XA1405 and some historic carriages were stored for several months. |
8039 pushing B-set 80 along the only workable line left into the workshops |
Disappearing into the workshops. |
|
8039 pushing the three trucks containing B-set 80's bogies. |
The AvonLink sporting a modified livery near Toodyay Road |
A-set 37 arriving at |
A-sets 48 and 22 departing and arriving at Guildford Station |
|
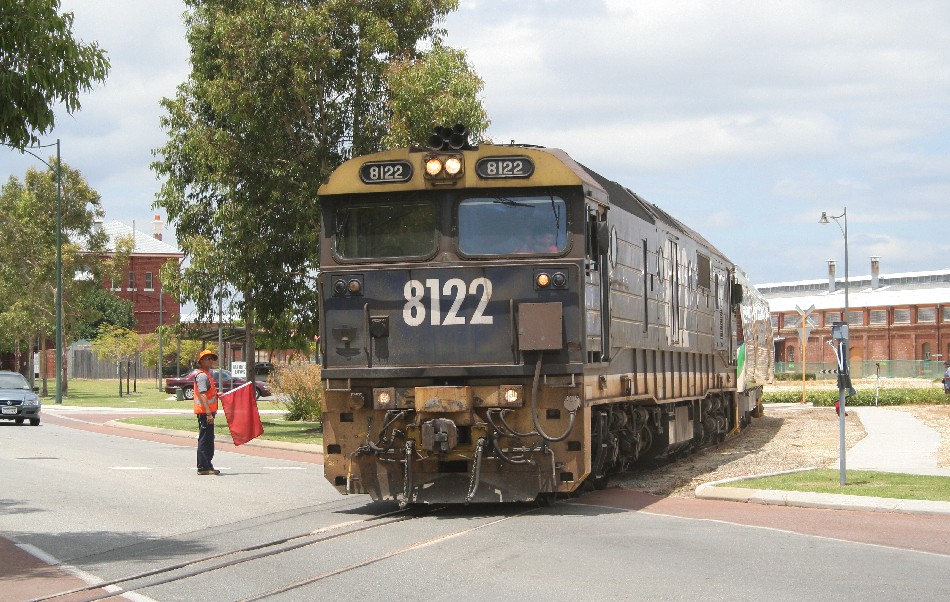
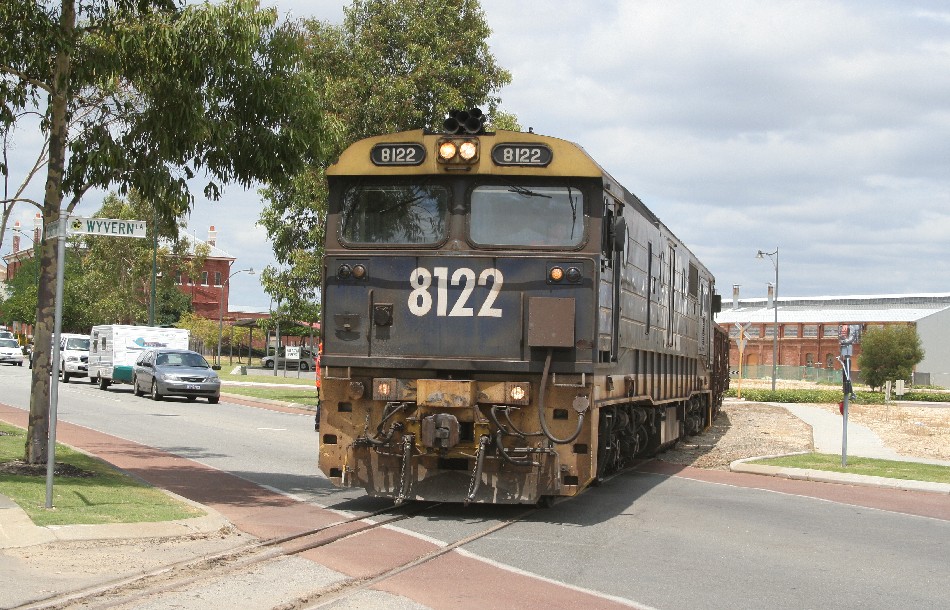
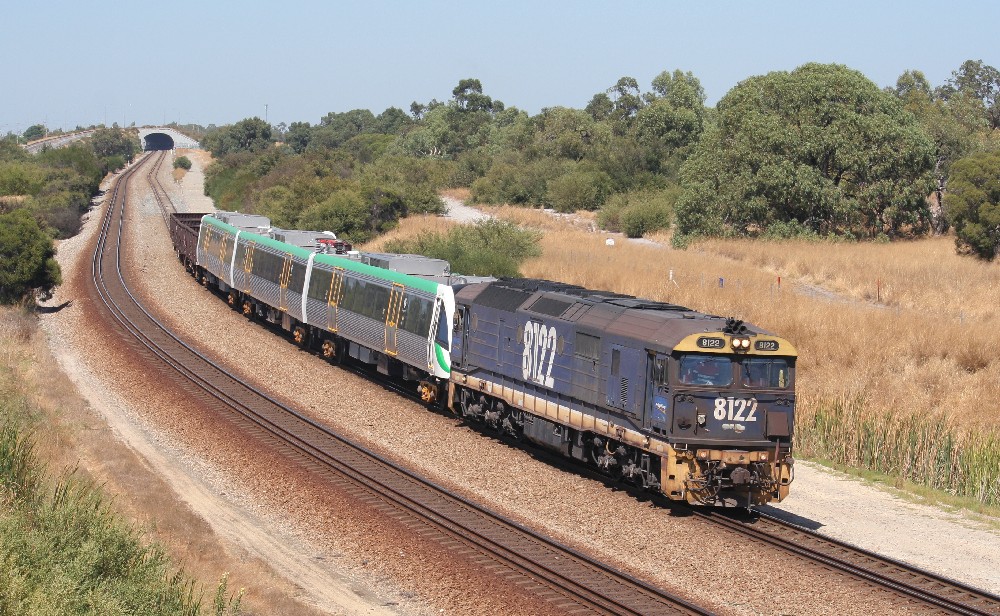
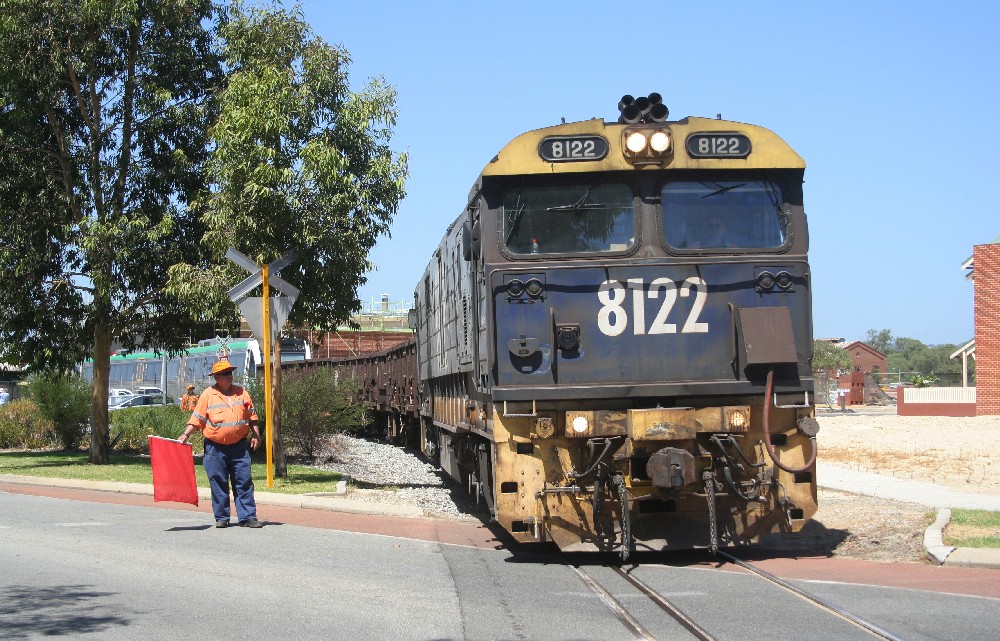
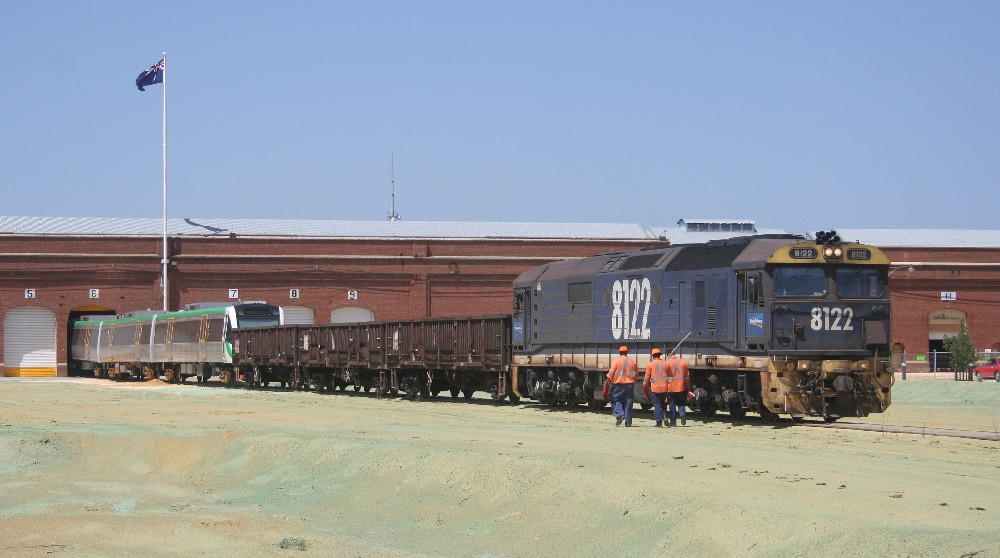
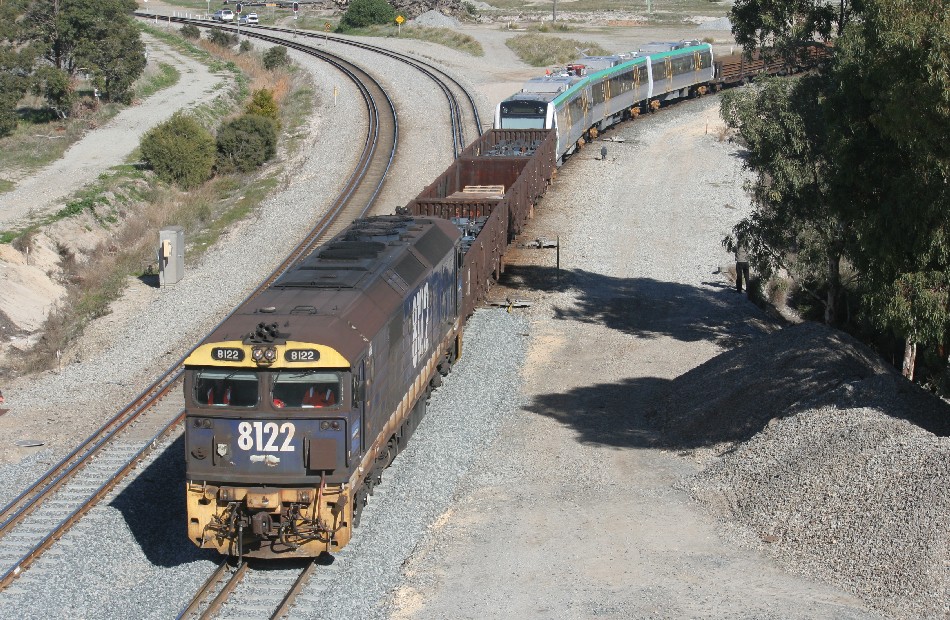
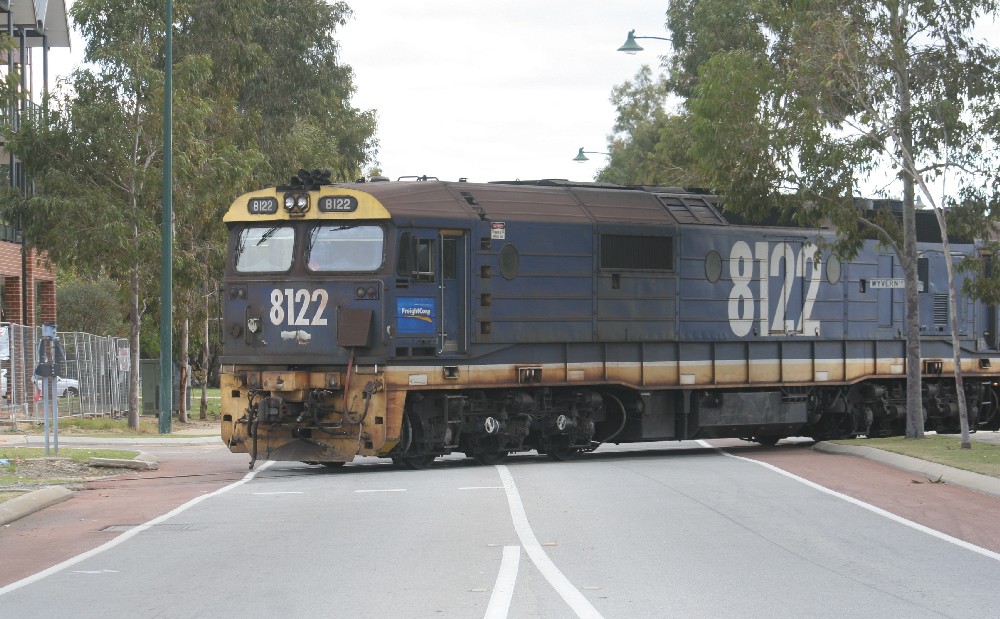
8122 taking B-set 81 to Midland Workshops for bogie exchange. |
Close up of 8122 |
CLose up of BEA481 |
B-set 81 being pushed across Yelverton Street |
|
8122 pushing B-set 81 across Yelverton Street |
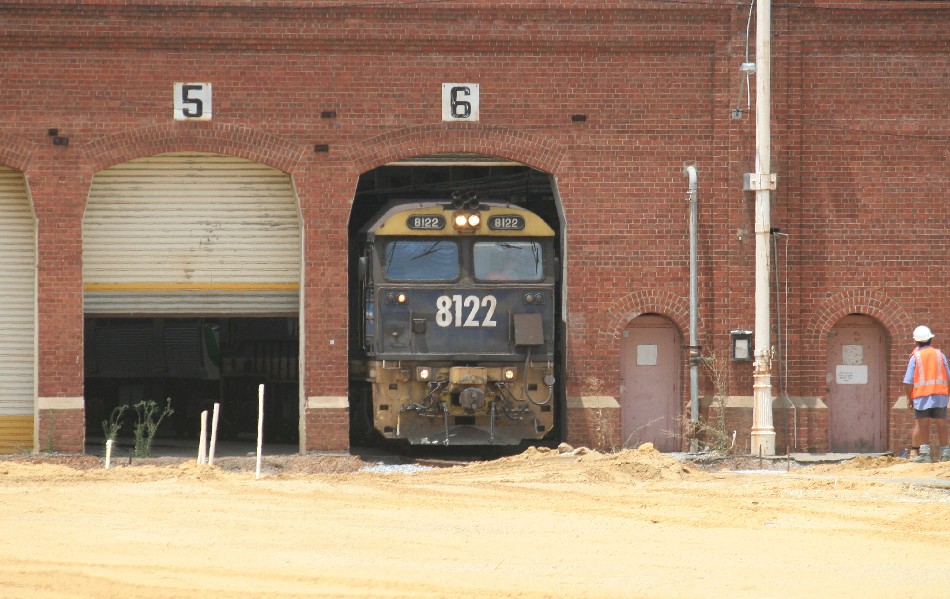
8122 pushing B-set 8122 into the workshops |
Who would have thought that an 81 class would go in here? |
8122 leaving the workshops |
|
8122 pushing the trucks containing B-set 81's bogies. |
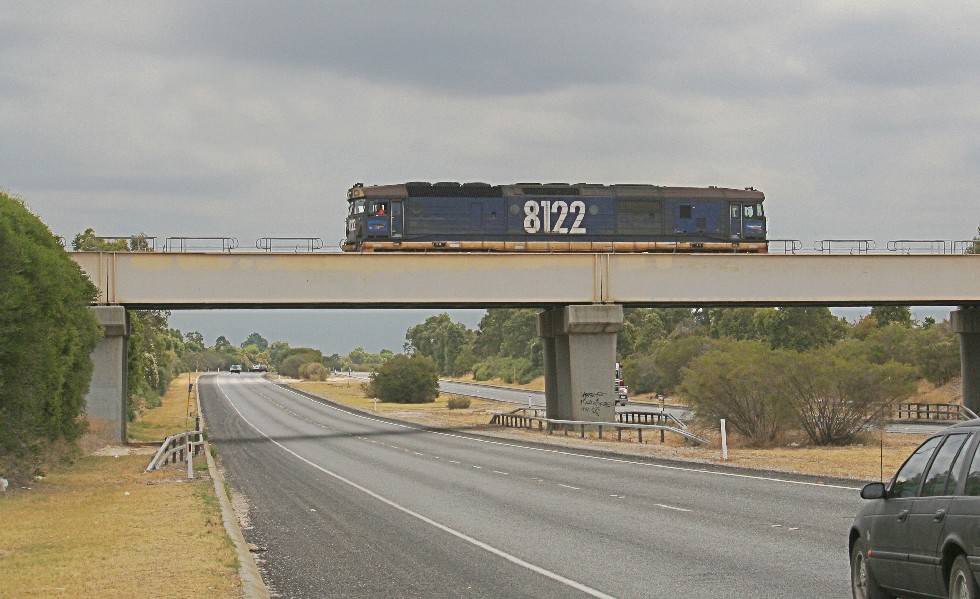
8122 crossing Gt Eastern Hwy Bypass on the way back to Kewdale after dropping off B-set 81 |
||
|
B-set 82 being pushed into the workshops by 8039 |
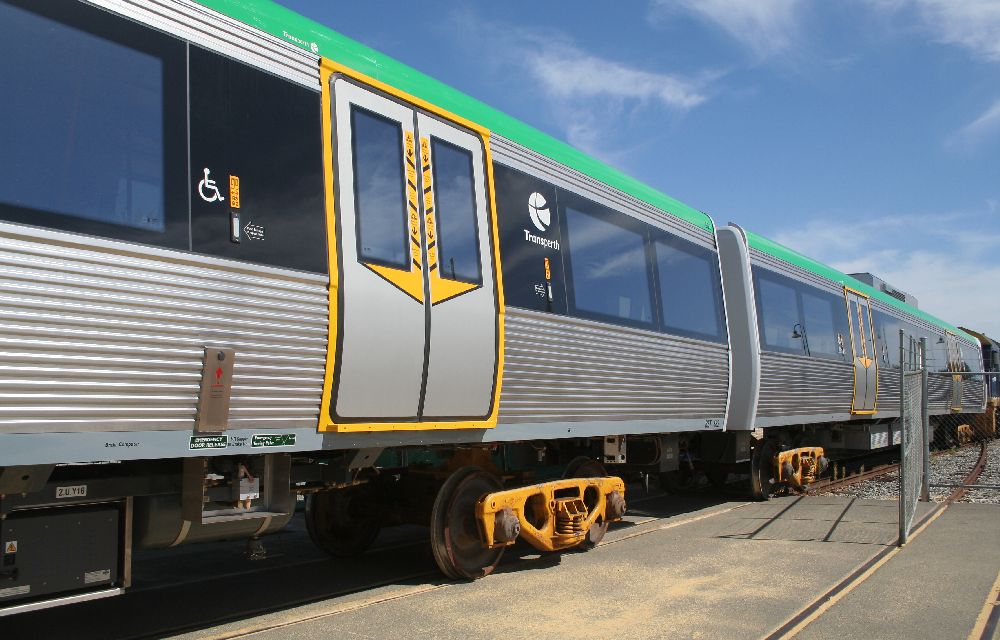
Close up of the side of B-set 82 showing the transfer bogie |
B-set 82 being pushed into the workshops by 8039 |
B-set 82 being pushed into the workshops by 8039 |
|
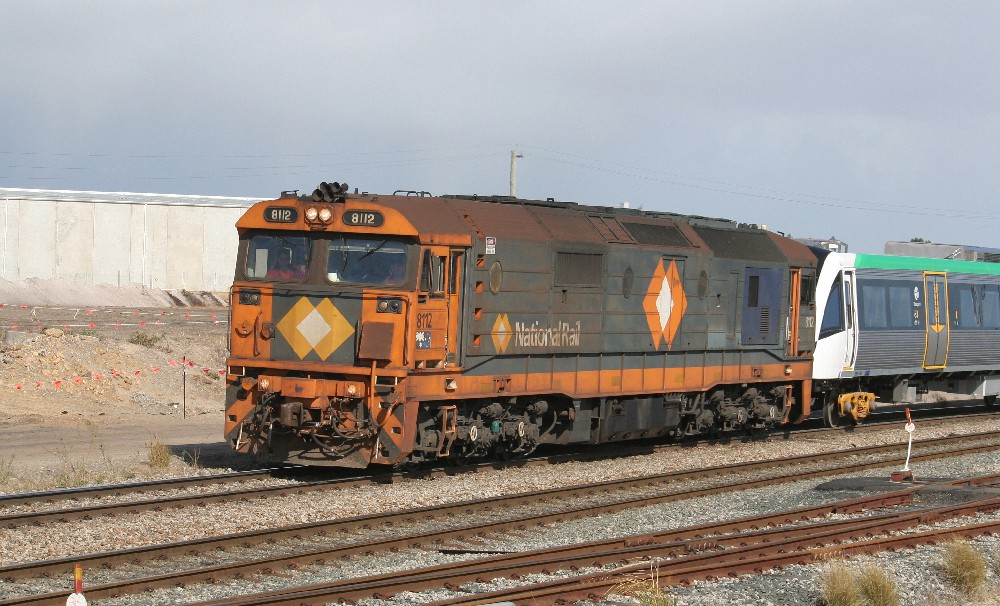
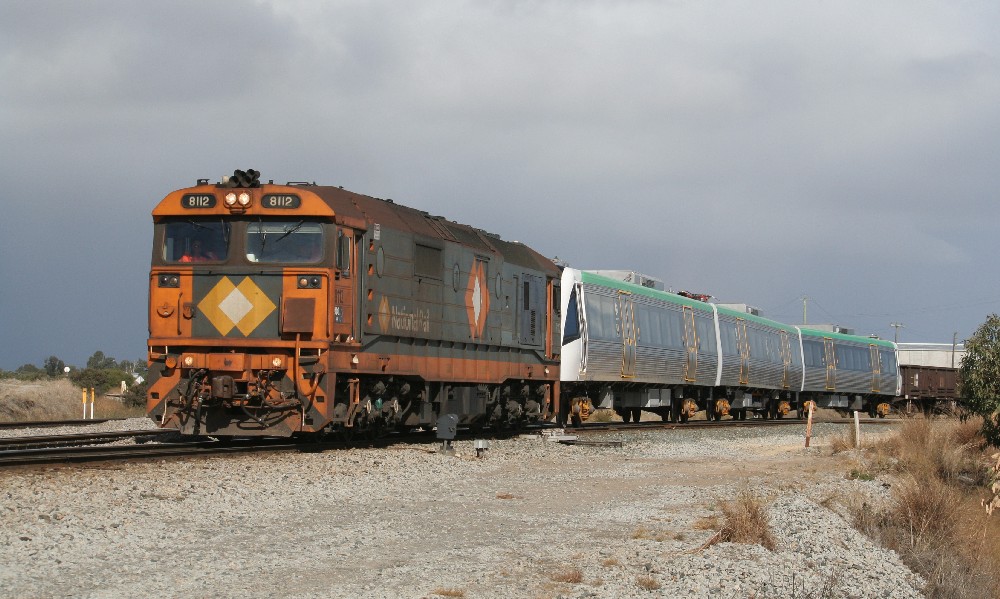
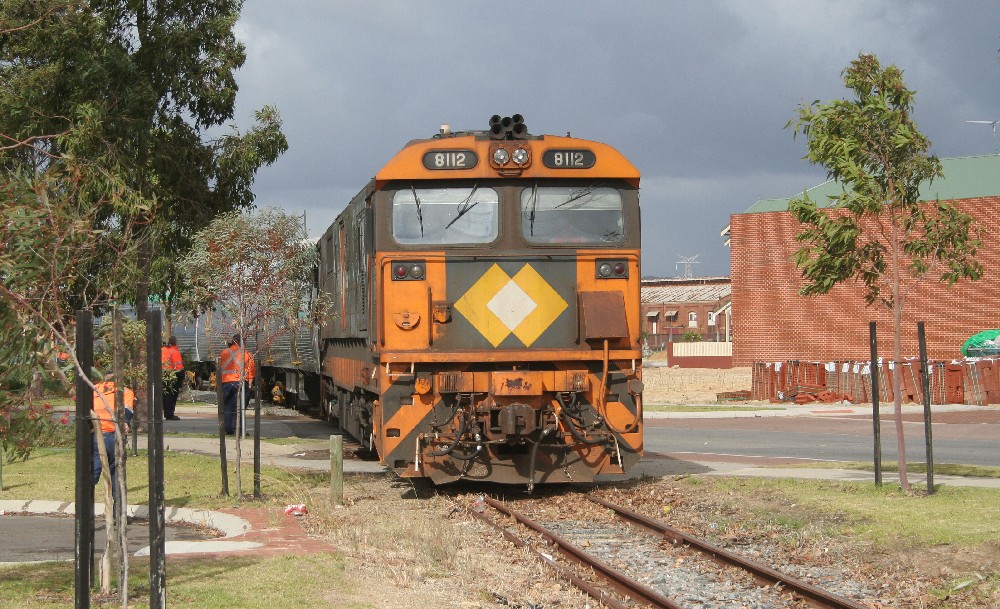
8112 hauling B-set 83 out of Kewdale |
Close up of 8112 |
8112 hauling B-set 83 out of Kewdale |
8112 hauling B-set 83 through |
|
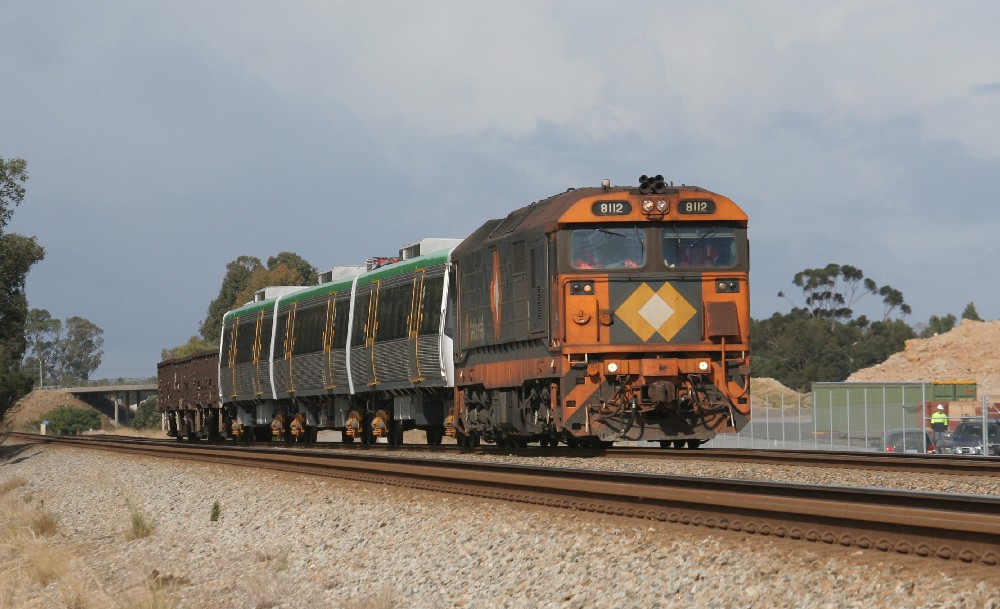
8112 pushing B-set 83 over Yelverton Street |
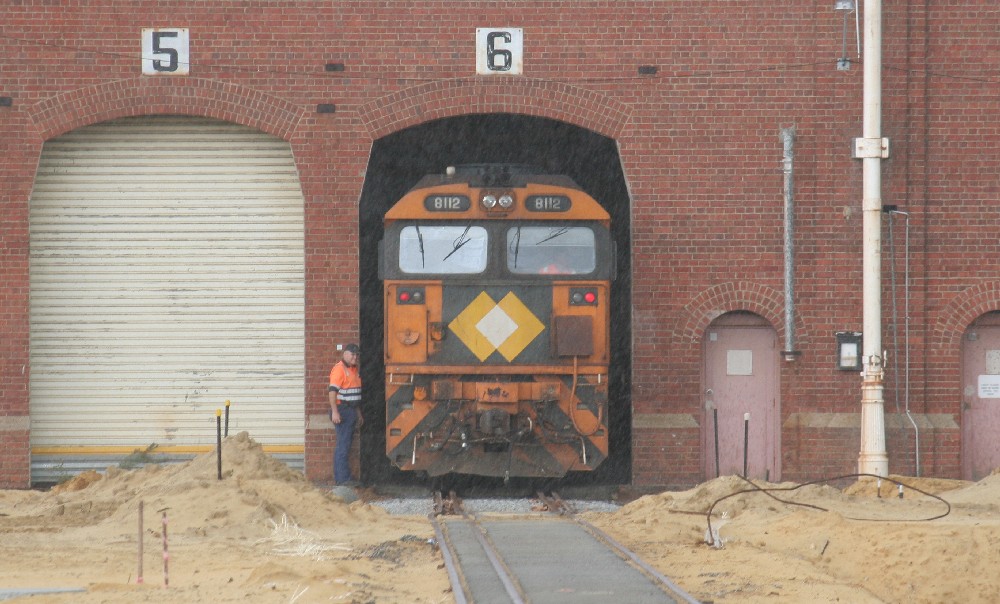
8112 pushing B0set 83 into the workshops |
8112 pushing B-set 83 into the workshops |
Another 81 has now been inside the Midland workshops! |
|
B-set 84 on the end of WP2 through Midland |
Close up of B-set 84 end carriage |
8039 hauling B-set 85 to the Midland Workshops |
B-set 85 being pushed into the spur into the workshops |
|
8039 pushing B-set 85 into the workshops |
8039 hauling B-set 86 to the Midland Workshops |
B-set 86 being pushed into the spur into the workshops |
Close up of B-set 86 |
|
8039 pushing B-set 86 into the workshops |
8039 pushing B-set 86 into the workshops |
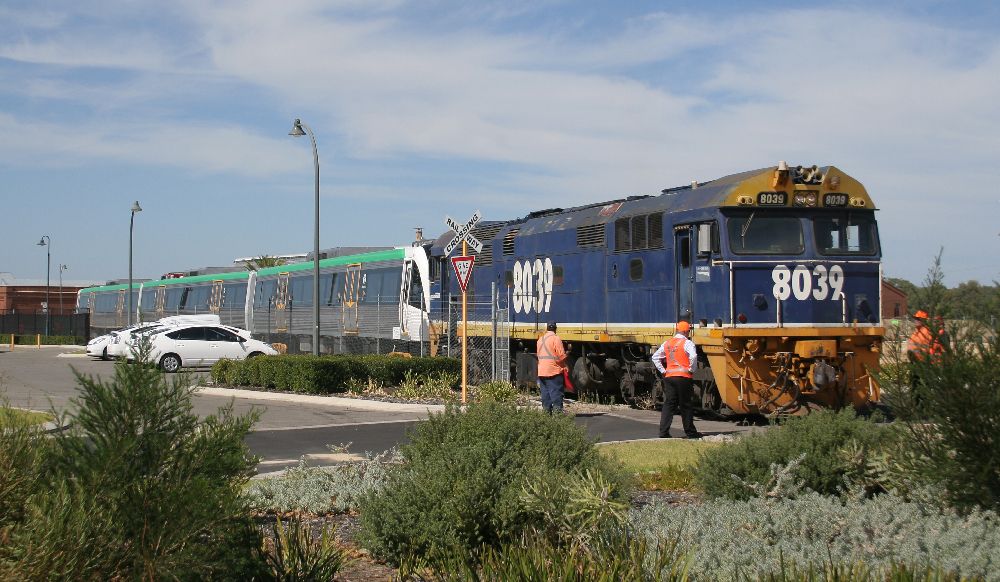
8039 with B-set 87 in Flashbutt siding |
B-set 87 crossing Lloyd Street |
|
B-set 87 being pushed over Yelverton Street |
8039 pushing B-set 87 into the workshops |
8122 hauling B-set 89 near Kalamunda Road |
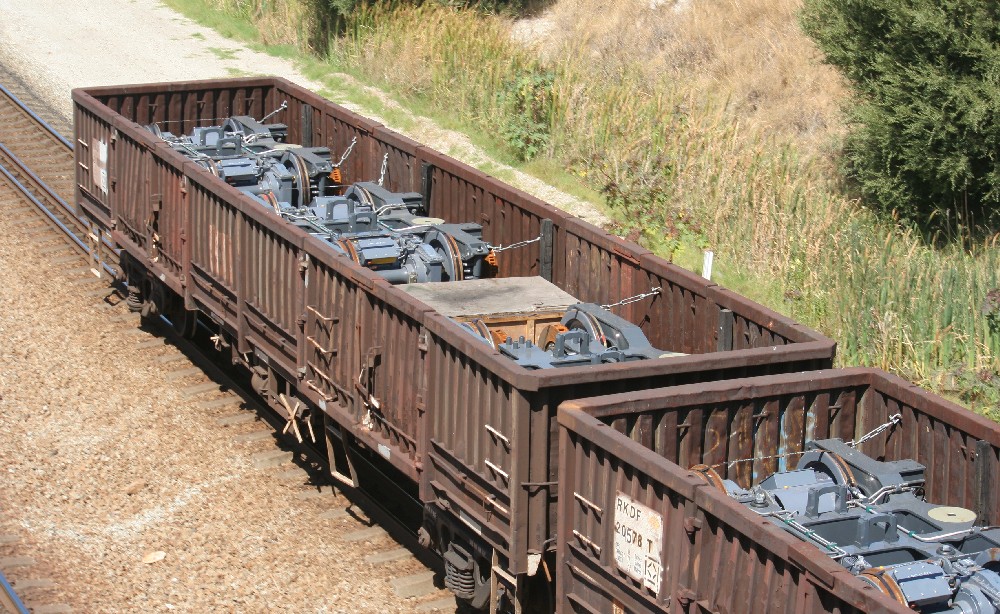
The wagons containing the bogies for B-set 89 |
|
The new pushing out the old. These new EMUs are the last trains that will use this line into the old workshops |
8122 pushing B-set 89 over Yelverton Road |
B-set 89 being pushed past Y1101, which has been displaced from the workshops. |
B-set 89 being pushed into the workshops. The wagons containing the wheels were pushed in at the same time instead of separately. |
|
The bogie wagons were left here. |
MA1862 heading for Flashbutt on its way to collect B-set89 from the workshops |
MA1862 crossing Helena Street |
MA1862 about to enter the workshops yard, past the houses that are cause of the demise of this railway line and the workshops. |
|
MA1862 heading across the former yards of the workshops on the last line left |
MA1862 hauling B-set 89 out of the workshops |
MA1862 hauling B-set 89 out of the workshops |
MA1862 hauling B-set 89 |
|
MA1862 hauling B-set 89 |
MA1862 pushing B-set 89 |
MA1862 hauling B-set 89 |
MA1862 hauling B-set 89 |
|
8039 hauling B-set 90 to the |
8039 pushing B-set 90 toward |
B-set 90 in front of the houses being built in the old workshops' yards |
B-set 90 in front on the apartments that are the cause of the demise of the workshops |
|
8039 pushing B-set 90 through the former yards of the Midland workshops |
Dissappearing into the workshops... |
8039 with the wagons containing |
MA1862 on its way to pick up B-set 90 from Midland workshops |
|
MA1862 on its way to pick up B-set 90 from Midland workshops |
MA1862 pulling B-set 90 out of the workshops |
MA1862 pulling B-set 90 out of the workshops |
In with the new and out with the old. What a shame |
|
On narrow guage bogies, remaining work will be done at Nowergup |
Waiting in Flashbutt before |
MA1862 hauling B-set 90 past the |
MA1862 hauling B-set 90 through |
|
MA1862 heading through Midland for |
MA1862 hauling B-set 91 out of the workshops |
MA1862 hauling B-set 91 out of the workshops |
MA1862 hauling B-set 91 out of the workshops |
|
MA1862 hauling B-set 91 across |
MA1862 hauling B-set 91 across |
MA1862 with B-set 91 pushing back toward Flashbutt |
MA1862 with B-set 91 at Flashbutt |
|
MA1862 hauling B-set 91 |
MA1862 hauling B-set 91 |
MA1862 and B-set 91 dissappearing into the tunnel under Graham Farmer Freeway |
|
|
8122 taking B-set 92 out of Kewdale. Several wagons of rail were taken to flashbutt at the same time. |
Close up of B-set 92 |
These three wagons contain the bogies |
Pushing past the units being built in the former yards of the Midland workshops. |
|
Pushing along the only remaining track into the workshops. |
Pushing B-set 92 into the workshops |
8122 crossing Yelverton Street |
MA1862 heading into the |
|
MA1862 with B-set 92 in the old |
MA1862 hauling B-set 92 across |
||
|
8039 with B-set 93 near West Parade |
Close up of B-set 93 |
B-set 93 past the near buildings |
8039 pushing B-set 93 |
|
MA1862 hauling B-set 93 along the last remaining track through the Midland Workshop yards. |
MA1862 hauling B-set 93 past the apartments under construction in the former workshop yards |
MA1862 and B-set 93 crossing |
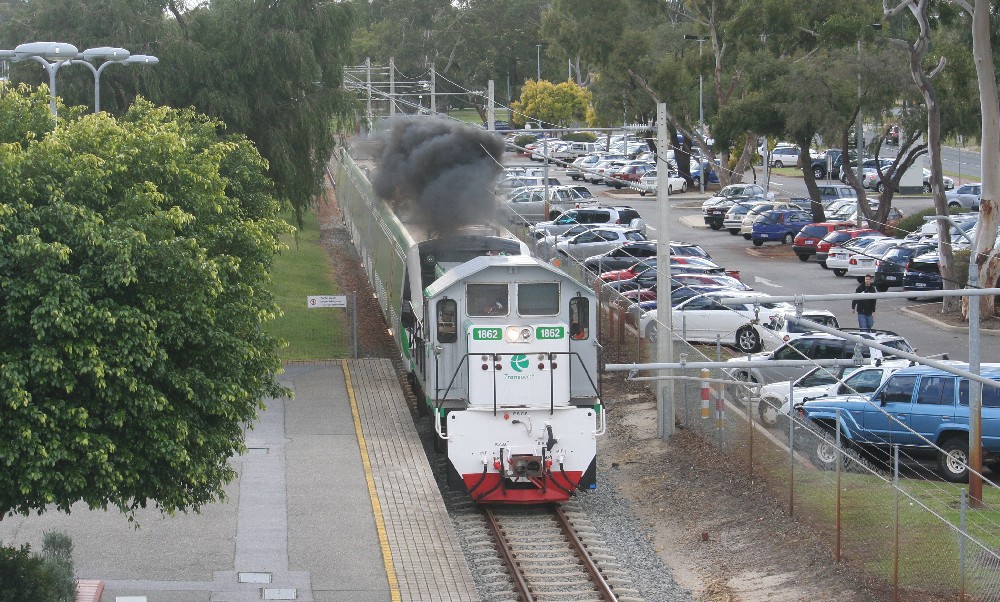
MA1862 smoking up through Midland |
|
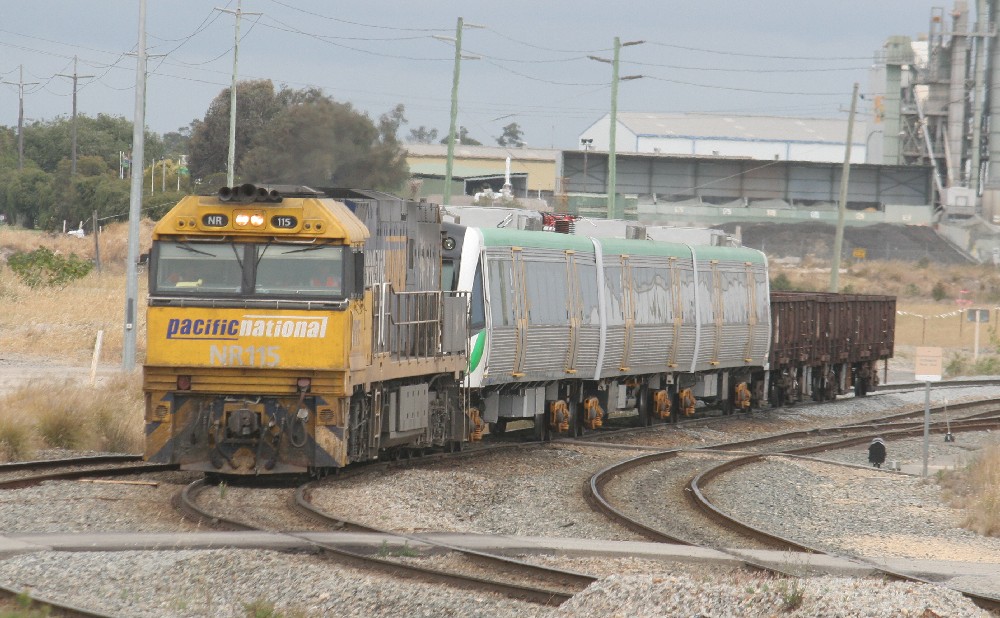
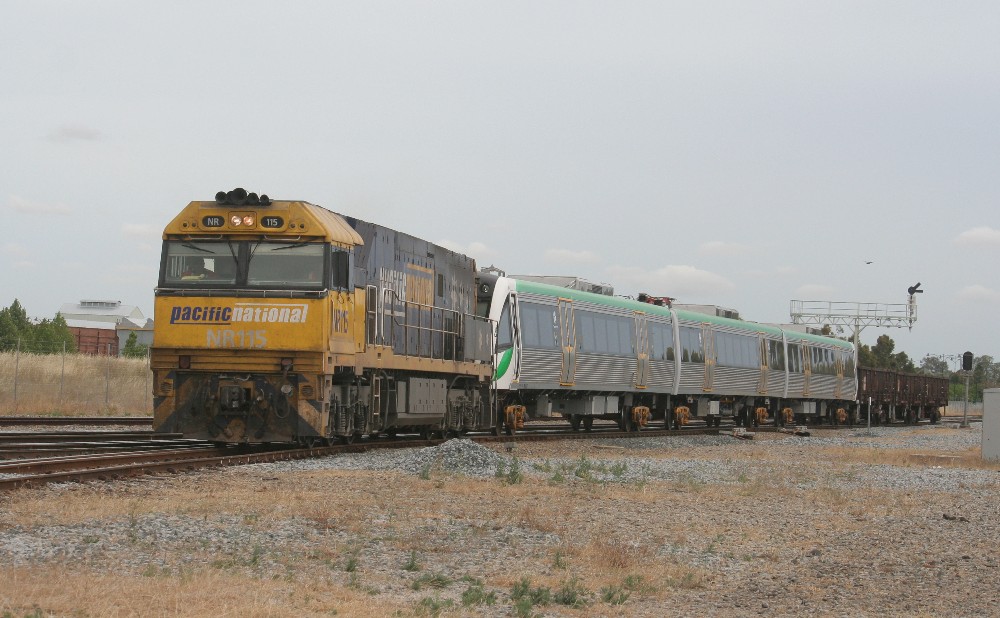
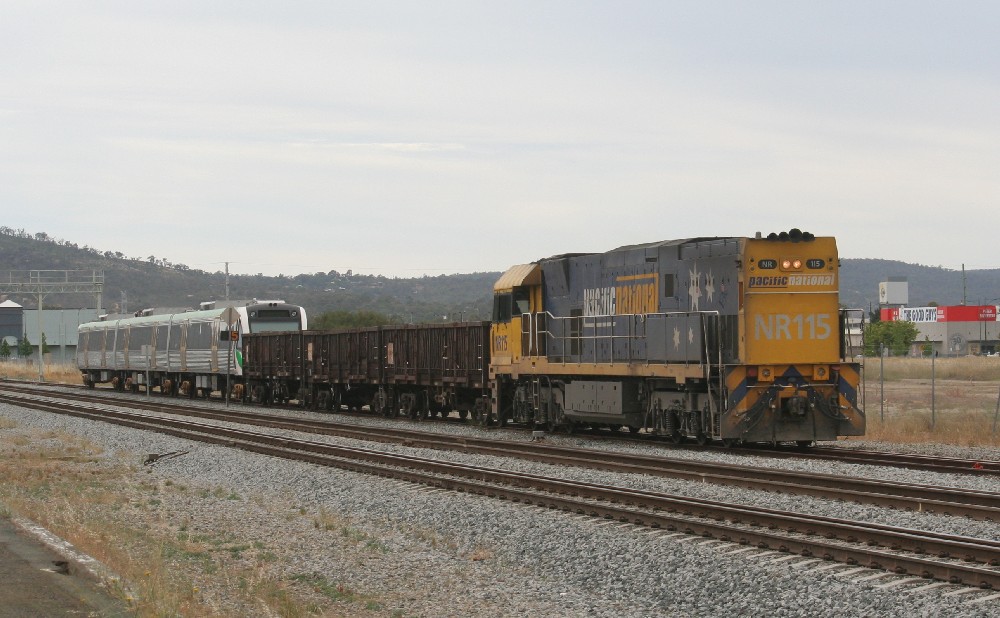
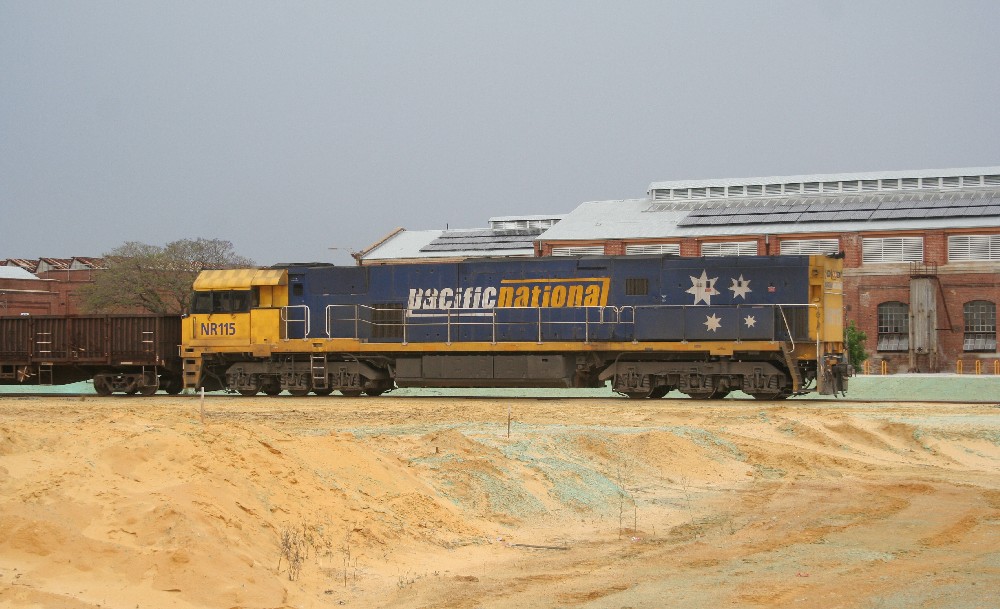
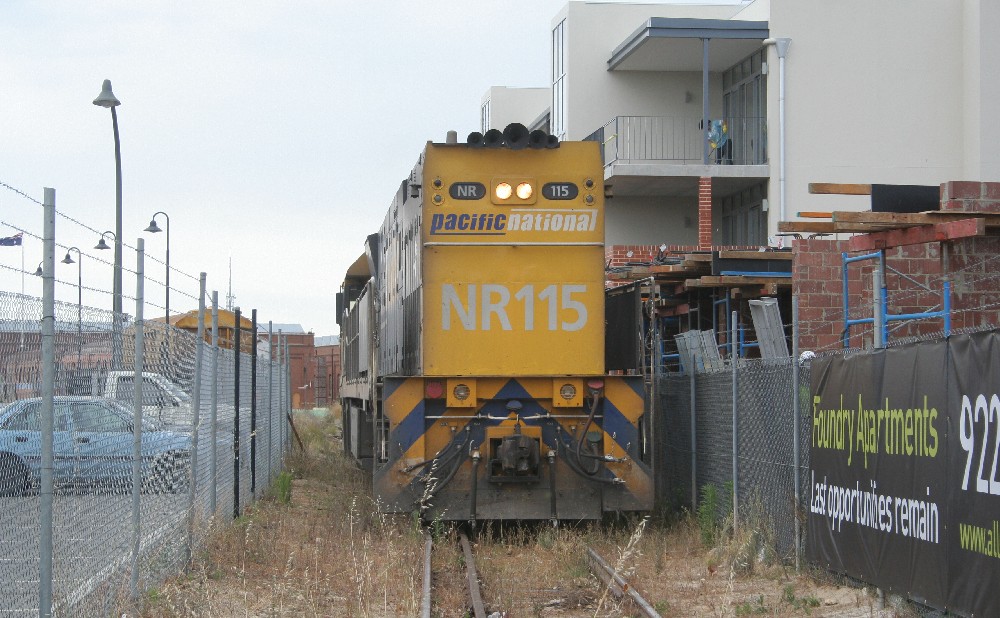
NR115 hauling B-set 94 out of Kewdale |
NR115 with B-set 94 near Kalamunda Road |
NR115 with B-set 94 entering Flashbutt |
NR115 with B-set 94 on the loop heading |
|
B-set 94 being pushed across Yelverton Street |
B-set 94 next to the new buildings on the site |
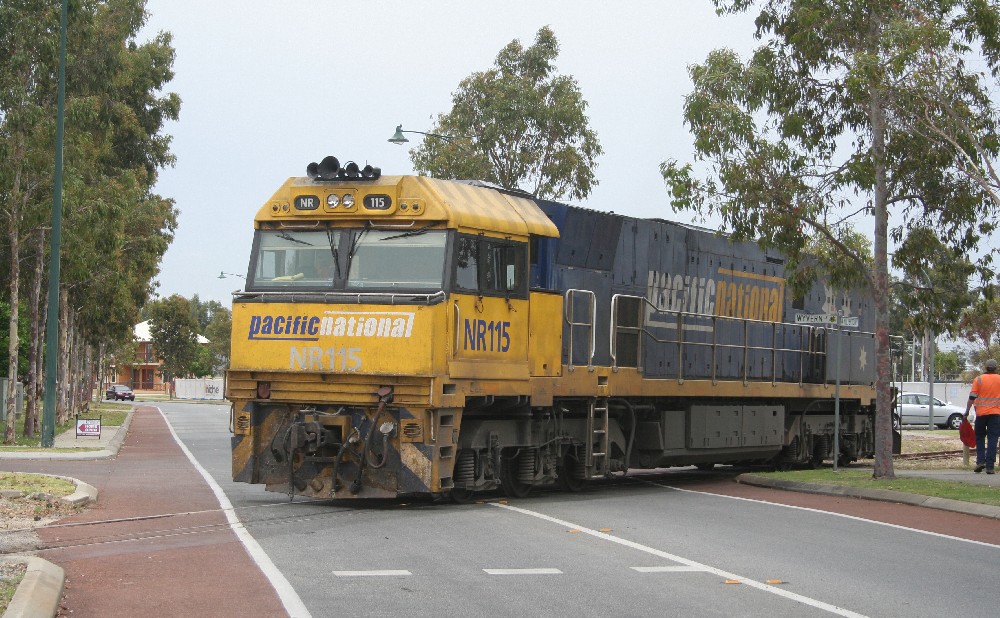
NR115 in the workshops yard - the only |
NR115 pushing B-set 94 into the workshops. |
|
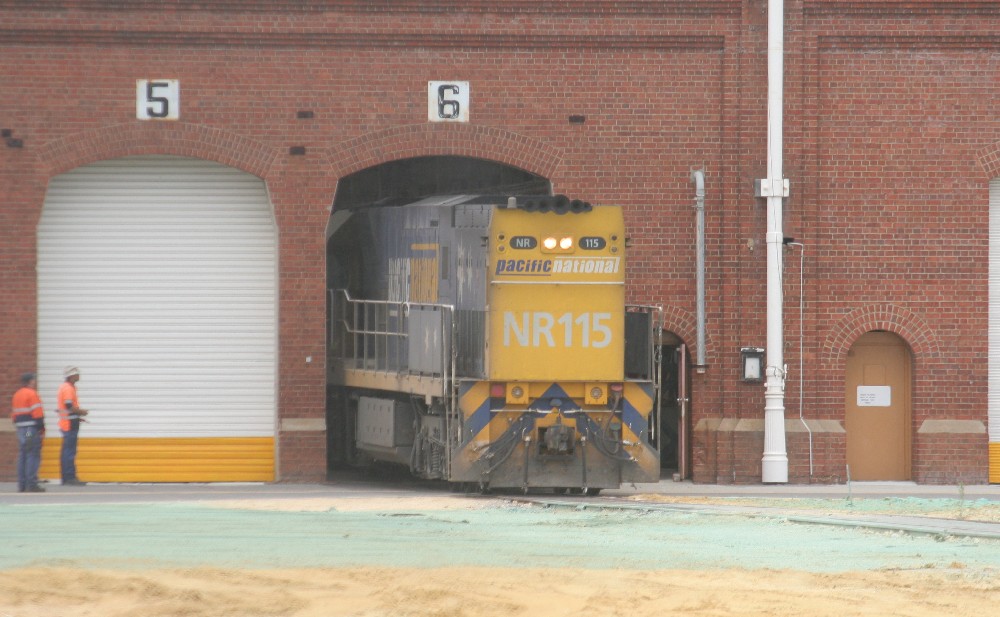
NR115 half in the workshops. |
NR115 heading out of the workshops. |
NR115 heading out of the workshops. |
NR115 crossing Yelverton Street |
|
MA1862 on the loop in Midland heading for the old workshops for the last time. |
MA1862 crossing Yelverton Street |
MA1862 hauling B-set 94 ou of the workshops |
MA1862 hauling B-set 94 out of the workshops |
|
MA1862 with B-set 94 in the former yards of the workshops |
MA1862 next to the new buildings in the former yards of the workshops |
MA1862 hauling B-set 94 across Yelverton Street |
B-set 94 in front of the new residential apartments on Yelverton Street |
|
B-set 94 |
MA1862 hauling B-set 94 through Woodbridge |
B-sets 83/84 rounding the curve |
The Prospector on the new access line to the |
|
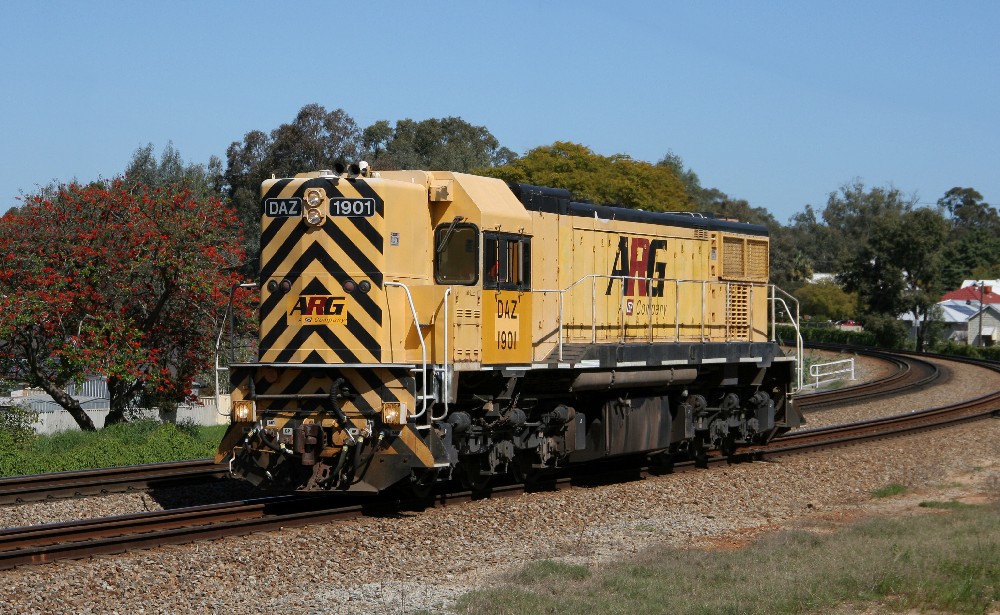
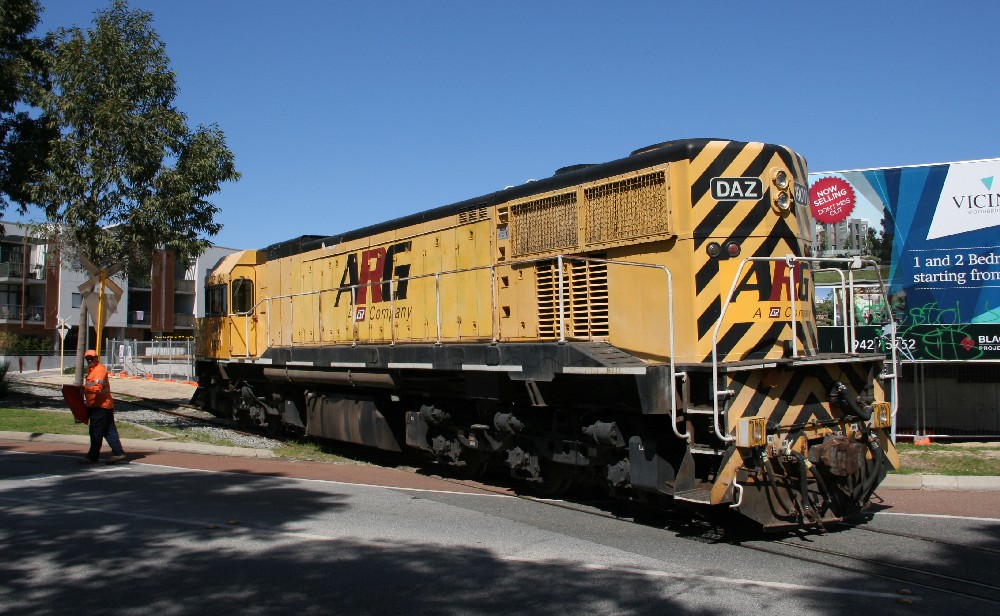
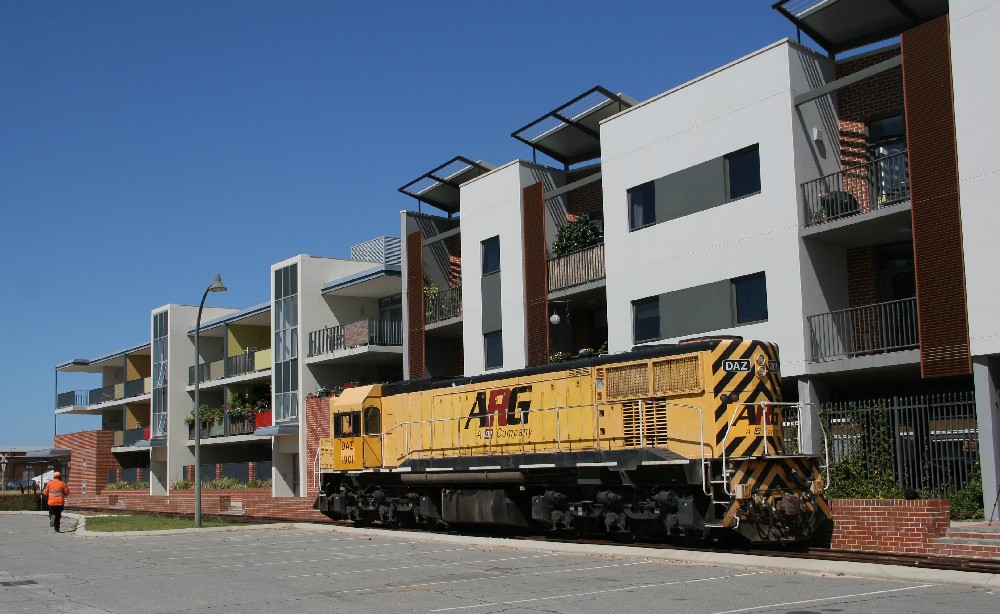
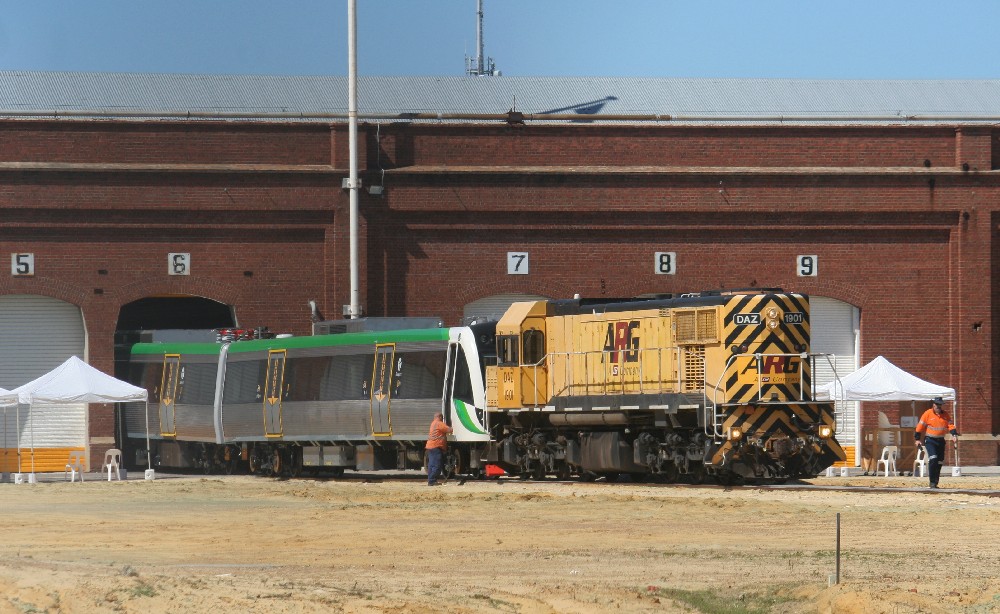
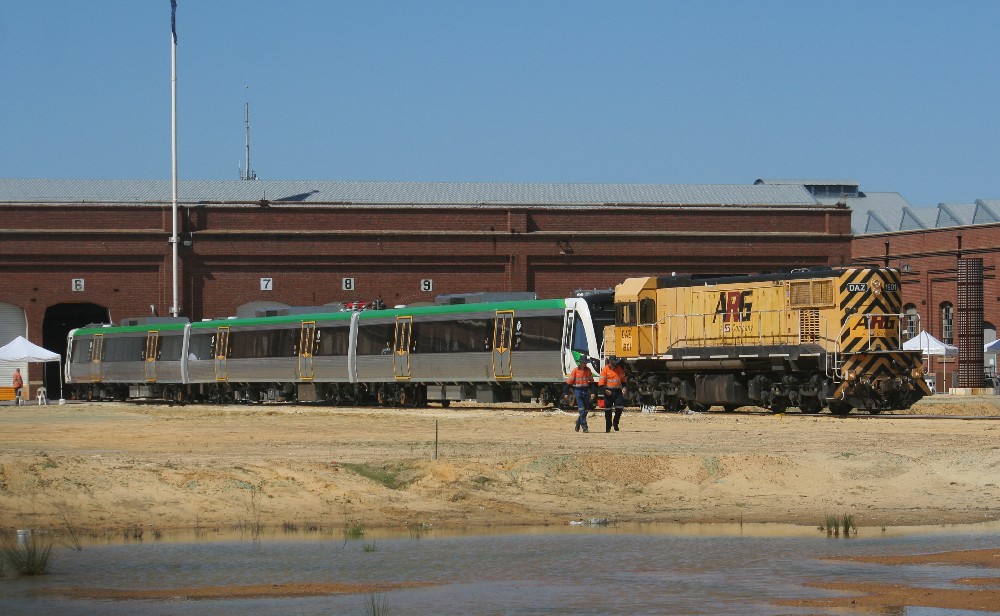
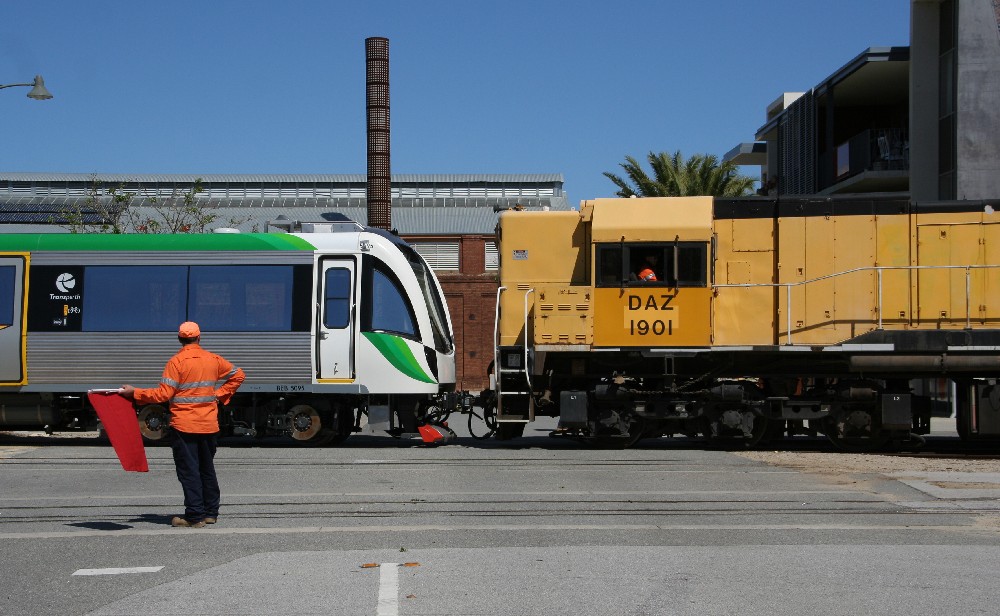
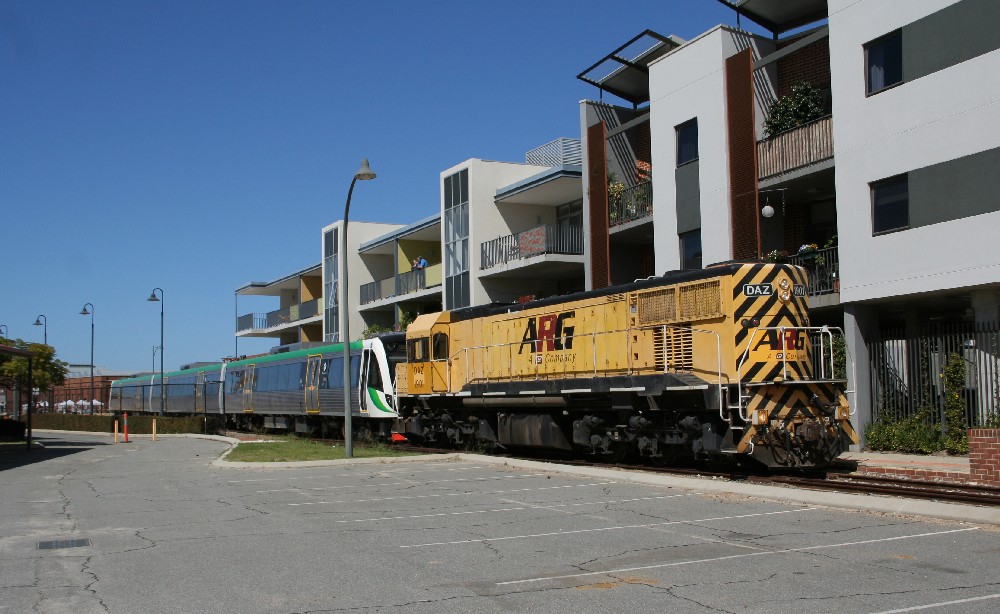
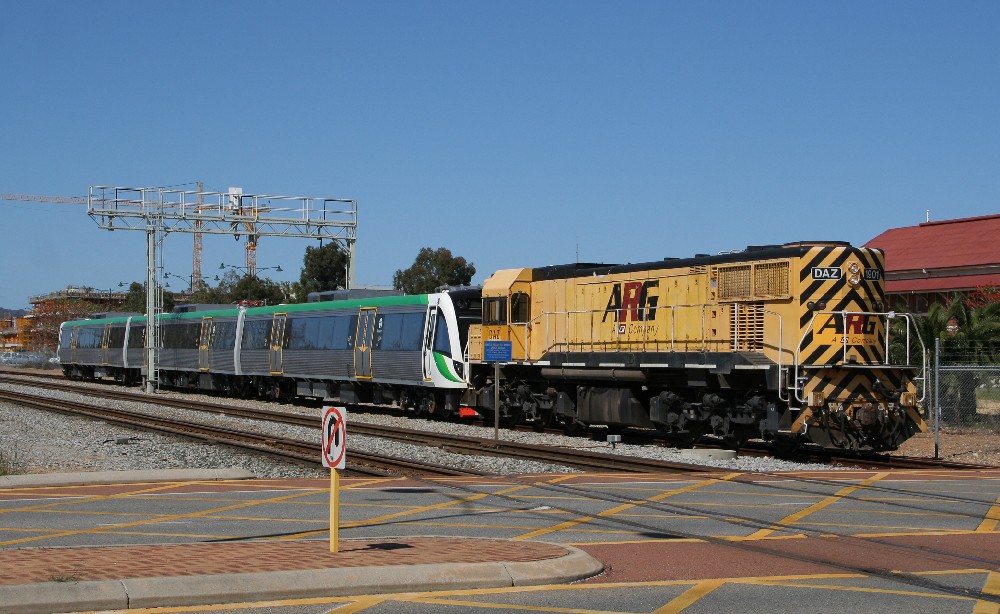
DAZ1901 heading to Midland workshops to pick up B-set 95 |
Crossing Yelverton Street |
Heading into the workshops |
Passing the new apartments |
|
Tip-toeing along the one remaining track into the workshops |
Hauling B-set 95 out of the workshops |
Hauling B-set 95 out of the workshops |
Hauling B-set 95 out of the workshops |
|
Passing the new apartments |
Prepareing to depart to Forrestfield |
Departing for Forrestfield |
|


ARG | Pacific National | South
Spur Rail | Specialised Container Transport | TransWA
& TransPerth | Westrail
Hotham Valley Railway | Other
Operators | Mandurah Railway Construction
| Queensland Rail | New Zealand
| CBH